How to configure IPv6 Tunnel on modem router (self-developed UI)
This Article Applies to:
Introduction: IPv6 tunnel is a kind of transition mechanism to enable IPv6-only hosts to reach IPv4 services and to allow isolated IPv6 hosts and networks to reach each-other over IPv4-only infrastructure before IPv6 completely supplants IPv4. It is a temporary solution for networks that do not support native dual-stack, where both IPv6 and IPv4 run independently.
Note: Here we take TD-W8970 as an example to set up IPv6 Tunnel, we will respectively introduce the configuration about 6to 4 Tunnel & 6RD Tunnel.
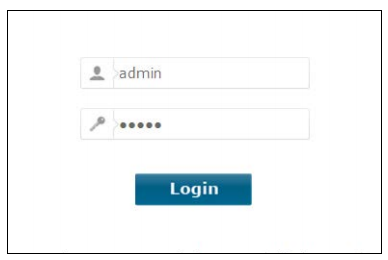
Step 1:Login the Web Management Page of TD-W8970 by http://192.168.1.1or http://tplinkmodem.net. (Default username & password: admin, admin.)

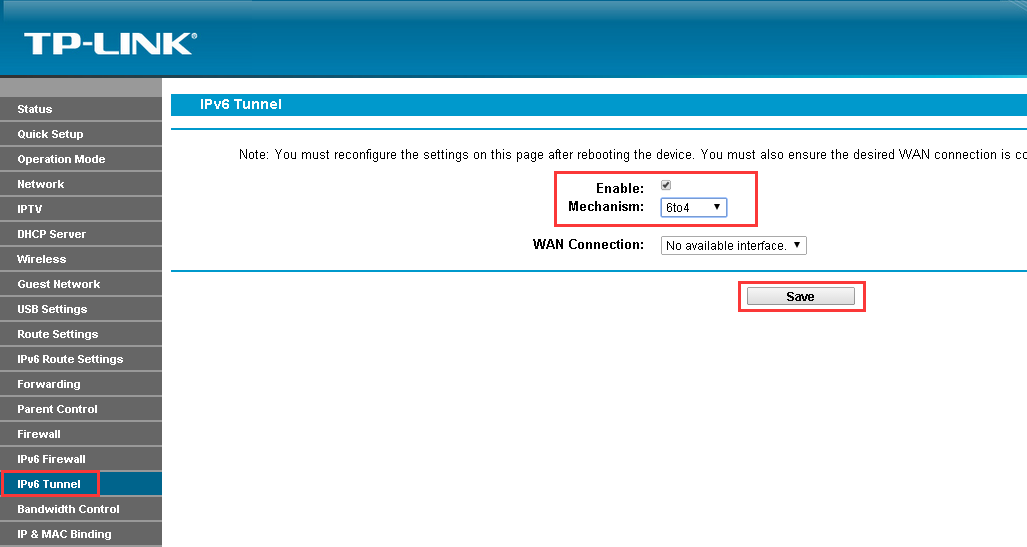
Step 2: Go to left hand side, IPv6 Tunnel.
1) If you want to set 6 to 4 Tunnel, choose Mechanismas6 to 4, check the box Enable ,and then click on Save button;
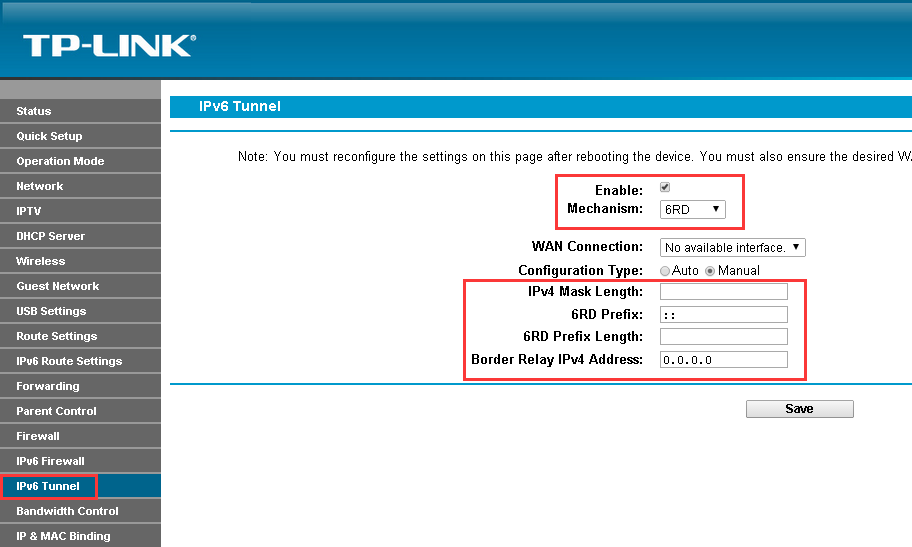
2) If you want to set 6RD Tunnel, choose Mechanism as 6RD, check the box Enable, and then type in the following 4 Parameters, IPv4 Mask Length, 6RD Prefix, 6RD Prefix Length, Border Relay IPv4 Address, click on Save button.
Note: If your ISP has provided you 6RD service, they should provide you the above 4 parameters.
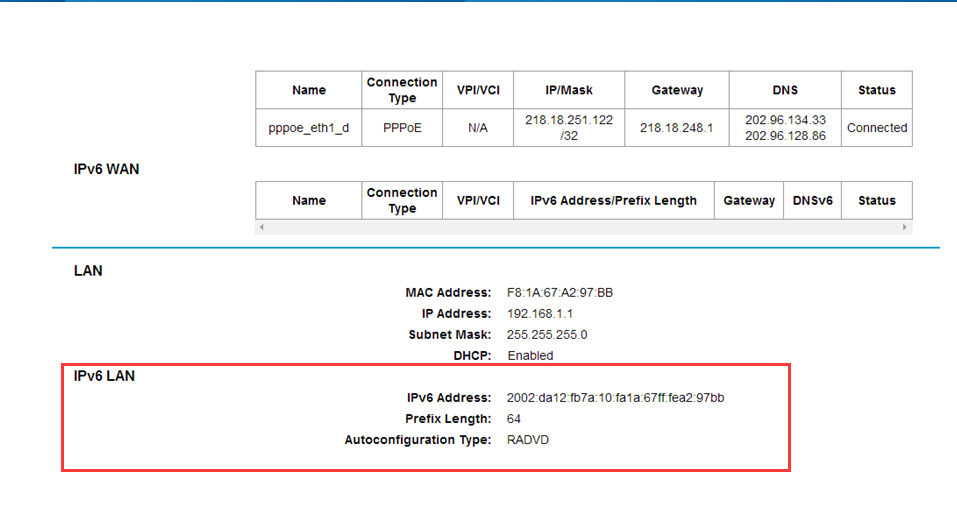
Step 3: After the settings have been finished, you may try the following steps to do a test and check whether 6 to 4 Tunnel is set up successfully. Go to Status ----IPv6 LAN, you should see the IPv6 address as follow, also, your computer will get the Default Gateway.
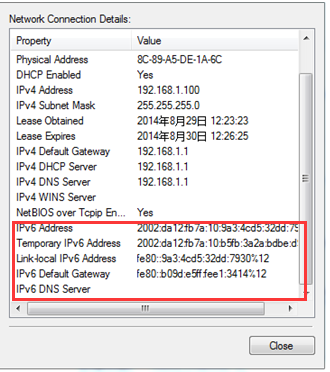

Note: Becausewe have no environment to test whether the 6RD tunnel is set successfully or not, you may contact your ISP and check that.
Get to know more details of each function and configuration please go to Download Center to download the manual of your product.
Is this faq useful?
Your feedback helps improve this site.
TP-Link Community
Still need help? Search for answers, ask questions, and get help from TP-Link experts and other users around the world.