How to set up QoS using TP-Link Wi-Fi Router (new designed blue UI)
For the new UI, please refer to the FAQ on How to set up QoS using the TP-Link Wi-Fi router
Note: This FAQ is not suitable for Archer C9(US) 1.0, whose the similar function is called Bandwidth Control. You can refer to the How to use bandwidth control on TP-Link wireless router? to set up if necessary!
Why do we need QoS?
QoS (Quality of Service), is designed to ensure the efficient operation of the network when the network overload or congest. It can specify priority of traffic and minimize the impact caused when the connection is under heavy load.
How to configure QoS?
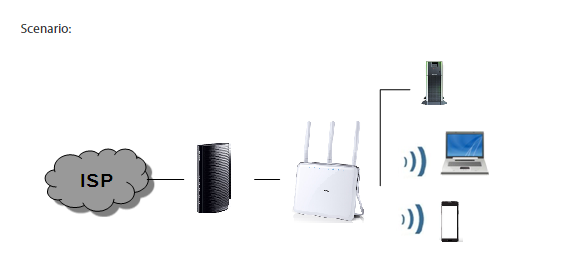
For example, I have several devices that are connected to my wireless network.
I would like to:
• Set my ftp server with faster surfing speed;
• Set my phone with intermediate speed on the Internet.
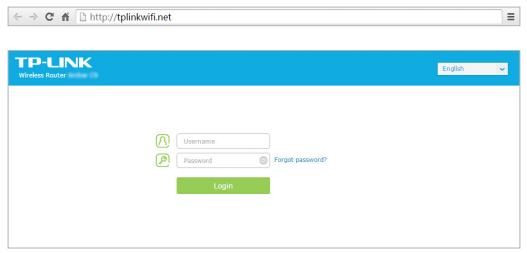
Step 1
Open a web browser, and in the address bar type in http://tplinkwifi.net or http://192.168.0.1, and log in with the username and password you set for the router. The default username and password both are admin (in lower case).
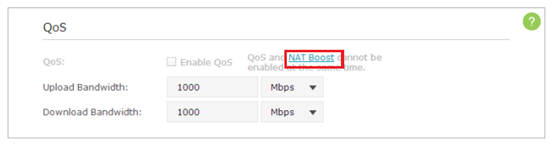
Step 2
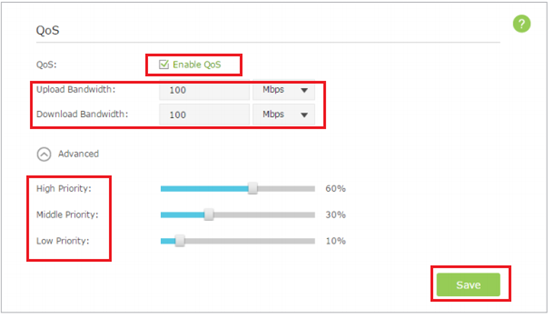
Go to Advanced > QoS > Settings. Select the Enable QoS checkbox.
Note: Qos and NAT Boost cannot be enabled at the same time, you need to disable NAT Boost first. Please follow step a and b to disable NAT Boost.
a. Click NAT Boost.
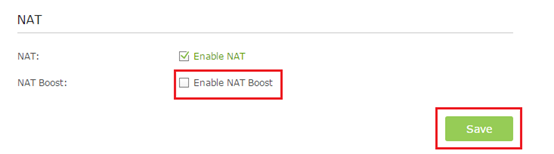
b. Deselect Enable NAT Boost and click Save, then click OK on the prompt window.
Step 3
Input the maximum upload and download bandwidth provided by your service provider. 1Mbps is equal to 1024Kbps.
Click Advanced and drag the scroll bar to set the bandwidth priority percentage. Then click on Save.
Note: Add each priority up no more than 100%. High priority is greater than Middle priority, and middle priority is greater than Low priority.
Step 4
Add QoS Rules.
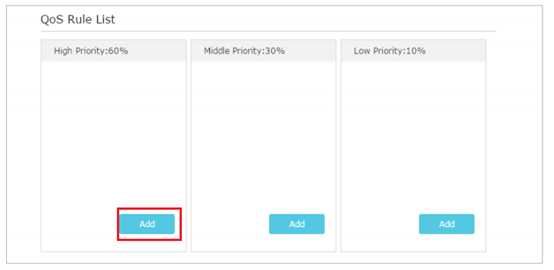
1) Set a high priority rule for the ftp server.
a. Click Add in the High Priority section.
b. Select By Application and then select ftp in the list. Click OK.
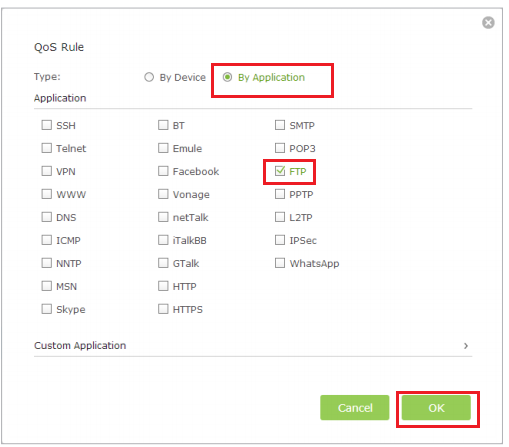
Tips: If your application isn’t listed on the screen, click Custom Application to add application manually.
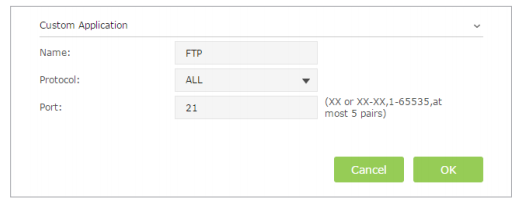
• Name: Enter a name for your application.
• Protocol: Select the protocol for your application, if you are not sure, select ALL.
• Port: Enter the destination port for your application, usually each application has a fixed port, please ensure you enter the correct the port. In this case, the destination port for ftp is 21.
2) Set a middle priority rule for the phone.
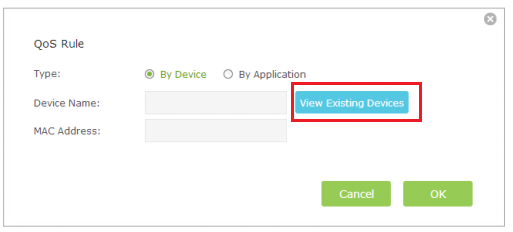
a. Click Add in the Middle Priority section.
b. Select By Device and then click View Existing Devices.
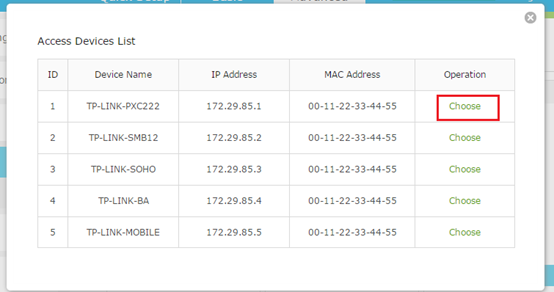
c. Choose the respective device from the list.
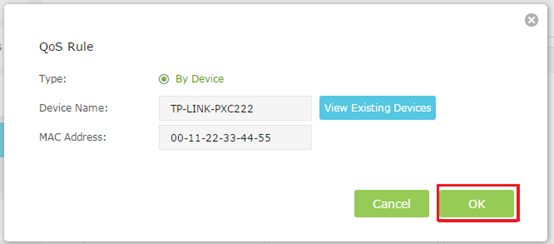
d. Click OK.
Then the QoS rules list will display in the table.
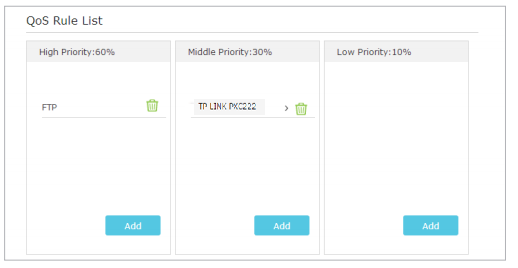
Tips: If you want to delete a QoS rule, click  icon to remove the responding rule from the list.
Step 5
Done! Now QoS is implemented to Prioritize Internet Traffic.
Get to know more details of each function and configuration please go to Download Center to download the manual of your product.
Is this faq useful?
Your feedback helps improve this site.

TP-Link Community
Still need help? Search for answers, ask questions, and get help from TP-Link experts and other users around the world.