How to setup Media Server on your Archer Modem Router (new-designed blue UI)
Note: Here take Archer VR900 as an example.
Step 1
Plug a USB Storage device into the USB port, make sure the USB light lit up on the router.
Check the USB LED Explanation below.

Step 2.
Log in Archer VR900’s web interface by 192.168.1.1 or tplinkmodem.net with the password that you set up.
Step 3
Click Advanced on the top, then click USB Settings -> Disk Settings on the left side menu. Check whether the USB device is identified by the modem router. If there is no device listed on this page, please click Scan. And you can also try unplug the USB device and plug it back in.
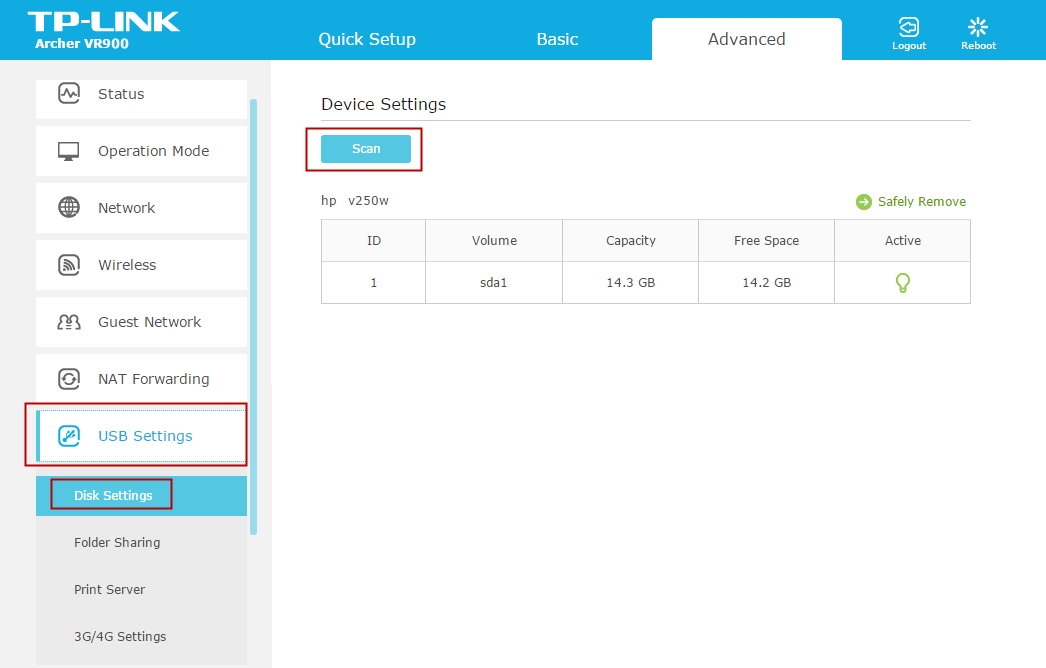
If the USB device is identified, the Storage Sharing function will be Enabled by default, and it is set to share the whole device by default.
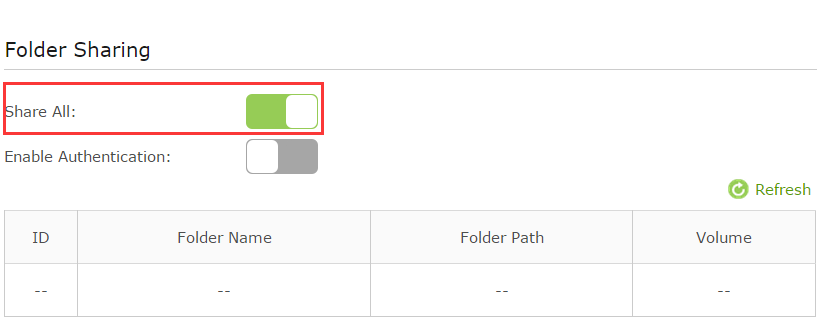
On the Sharing Settings part below, the Network/Media Server Name can be changed to something else.

Step 4.
Switch Share All off, click on Add, check Enable Media Sharing.
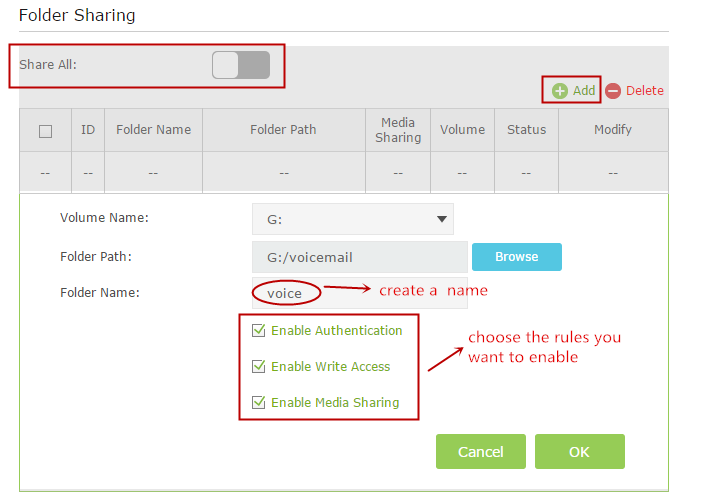
Below are explanations for the options:
Volume Name - From the pull-down list, select which volume to save the file under.
Folder Path- Path to the folder is determined by where the file is saved.
Folder Name - Name of the shared folder, customized by users.
Enable Authentication - Select the check box to require users to log in with a username and password.
Enable Write Access - Select the check box to allow users to make changes to the folder content.
Step 5.
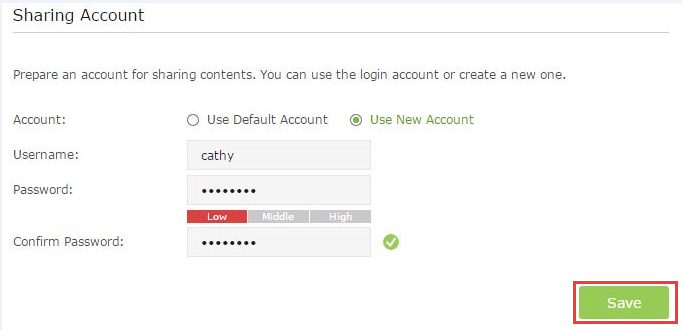
Go to Sharing Account on the top to Use New Account to create a separate login account for the USB device or Use Default Account to use the same account as the router’s management page login account, then click on save.
Step 6
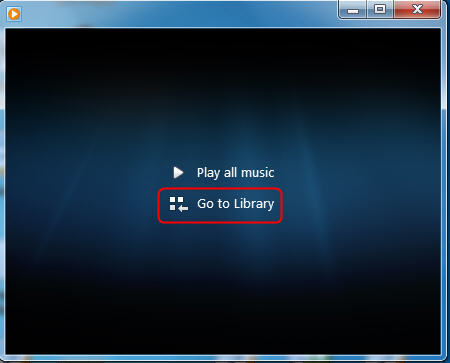
Run streaming media player like Windows Media Players and Go to Library.
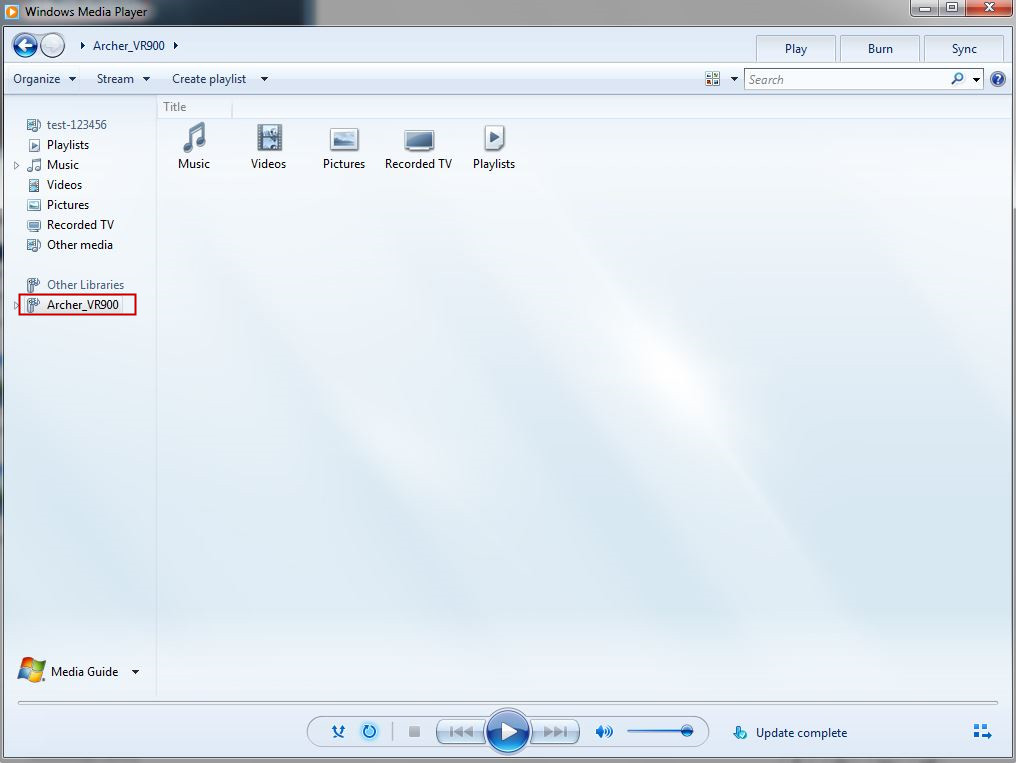
Windows Media Player has discovered the media server. Please choose it and select the content.
Get to know more details of each function and configuration please go to Download Center to download the manual of your product.
¿Es útil este artículo?
Tus comentarios nos ayudan a mejorar esta web.