How to change the owner account on Deco APP
You can change the owner account on the Deco APP without resetting the entire Deco network. To begin, please upgrade the Deco APP and your Deco Firmware to the latest version.
NOTE:
1) Some Deco models do not support this feature now, and they will support this feature via firmware updates in the future.
2) This feature will only unbind the network you've selected. All other networks associated with your TP-Link ID will remain unaffected.
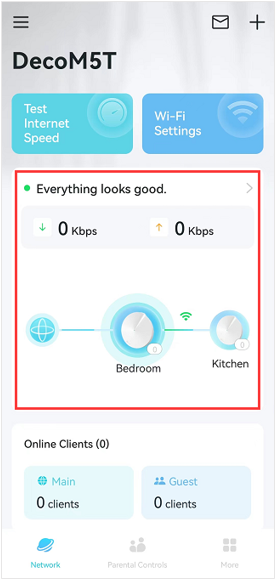
- Connect your phone to the Deco Wi-Fi network. Then open the Deco app, click on the network map.
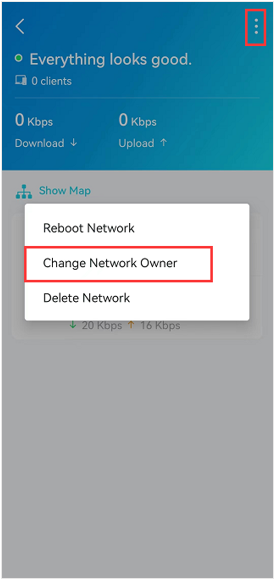
- Click on the icon at the right top corner, then tap Change Network Owner.
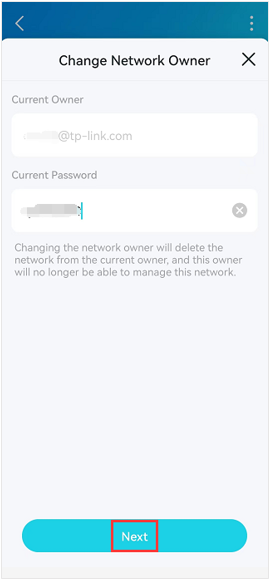
- Input the password for the current owner account and tap Next.
Note: It’s the password that you use to log in to the Deco app with the current owner’s account.
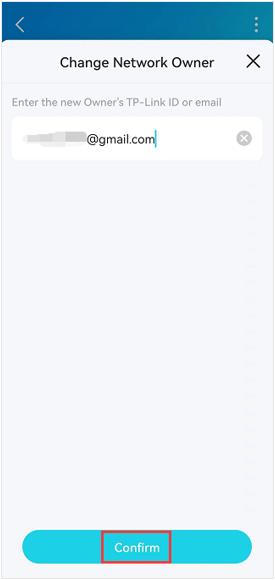
- Enter the new Owner’s TP-Link ID or email, then tap Confirm->tap Send. The Deco APP will send a verification email to the new owner’s email.
NOTE: Need to ensure you have already created a new account via the Deco app first (corresponding to the new email) .
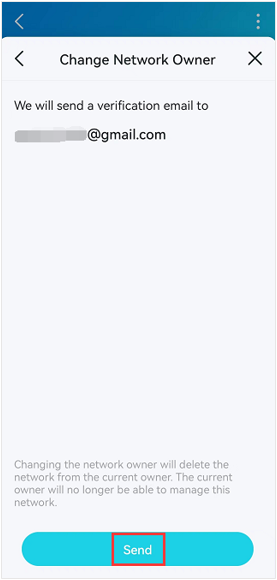
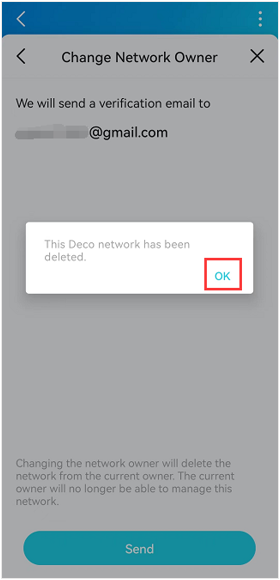
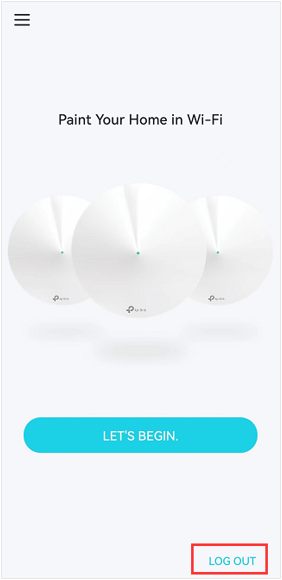
- Then you will see a notice on the Deco app that “This Deco network has been deleted”, which means the Deco is not bound to the old owner account. If you press OK, you will see the “Let’s Begin” page, and please tap LOG OUT to log out of the current account.
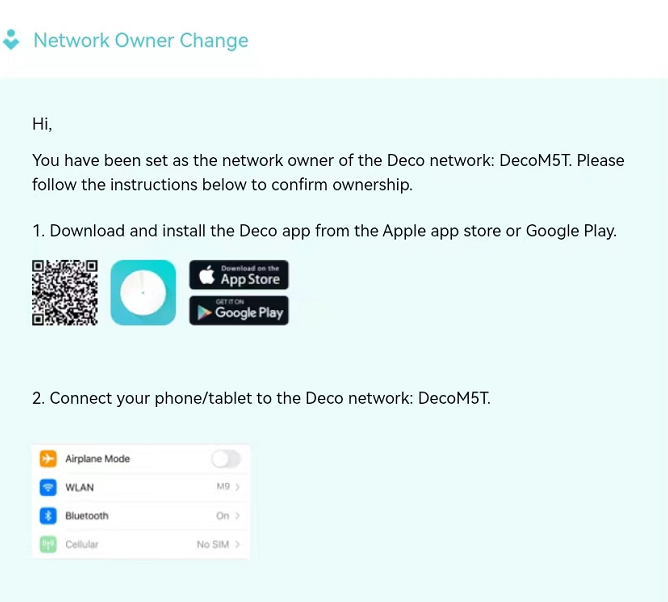
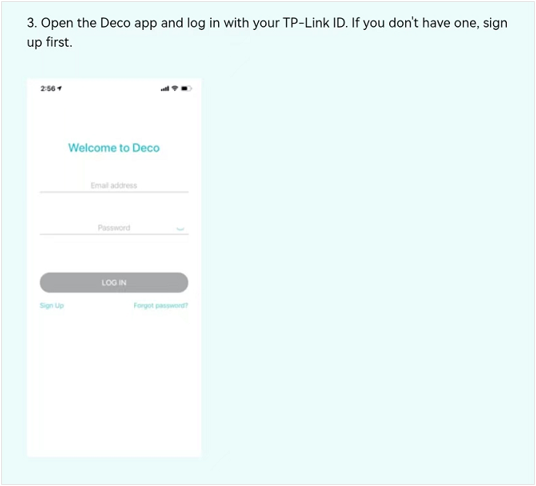
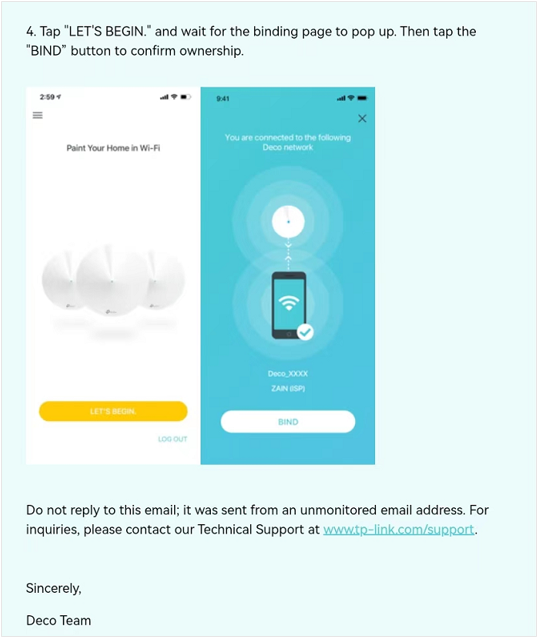
- The new owner will receive an email sent from TP-LINK<no-reply@email.tp-link.com>, which listed the detailed steps to bind the deco network to the new owner's account. Just follow the steps, and finally, you will be able to log in and manage the Deco system with your new owner account.
Here is the e-mail content:
¿Es útil esta pregunta frecuente?
Sus comentarios nos ayudan a mejorar este sitio.

_Overview_normal_20211225093343a.png)
_EU_V1.0_01_normal_20220707060708z.jpg)