How to set up DDNS (NO-IP) of Wi-Fi Routers (new designed blue UI)
Dynamic Domain Name System (DDNS) is useful for your own website, FTP server, or other servers behind the Router.
This article illustrates you how to assign a fixed host and domain name to a dynamic Internet IP address.
Note: Archer C9 is used for demonstration in this article.
Step 1
Access the web interface of Archer C9. Please click How do I log into the web-based Utility (Management Page) of TP-Link wireless router?to access the web interface
Step 2
Go to Advanced on the top, then go to Network --> Dynamic DNS on the left side menu. Select No-IP as the Service Provider. The page will show as below.
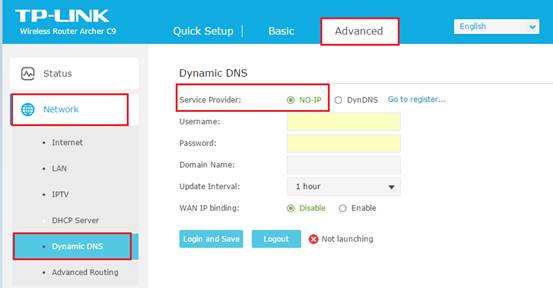
If you DO have account from http://www.noip.com, please skip to Step 10. Otherwise, please follow the next steps for how to create account.
Step 3
Click on Go to register and you will be redirected to http://www.noip.com
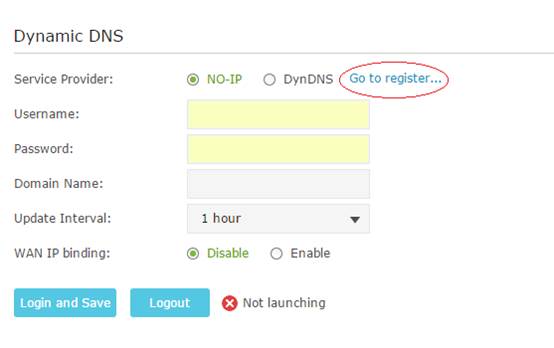
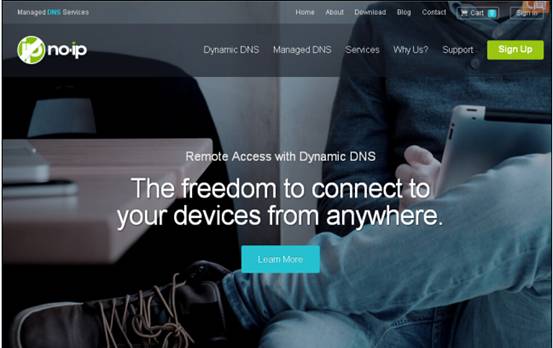
It will open the home page of no-ip.
Step 4
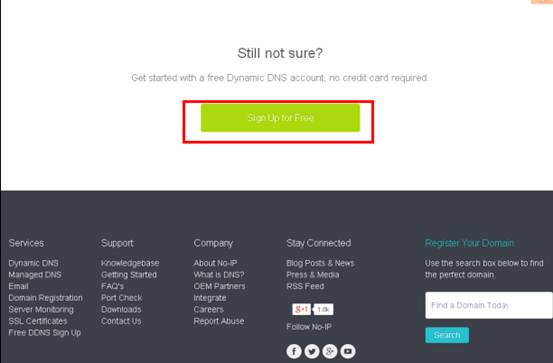
Scroll down this home page to the very bottom and click Sign Up for Free
Step 5
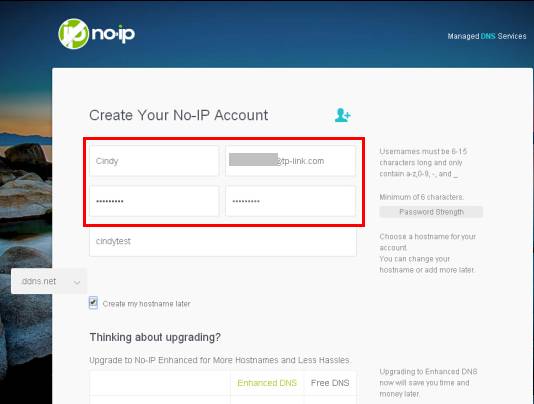
Type in the required information (Username, Email, and Password) to create a new account.
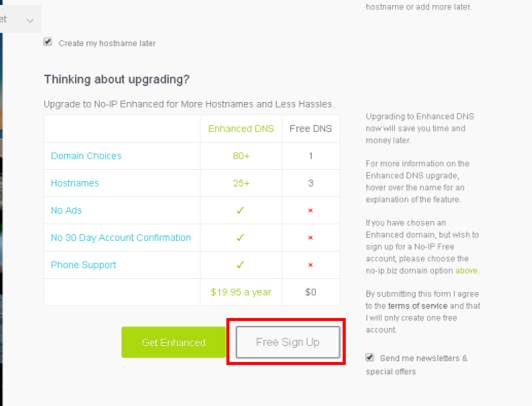
Then click Free Sign Up at the bottom of this page.
Step 6
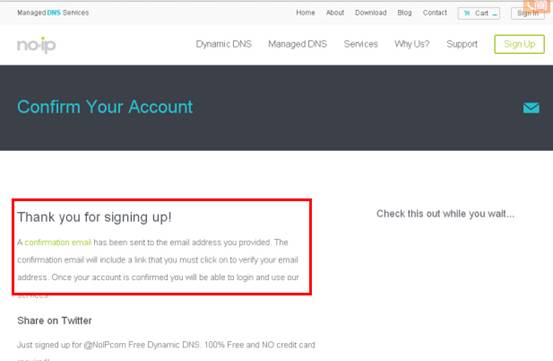
No-IP will send a confirmation mail to your email box which contains an activation link. Go to your mail box and check the mail.
Step 7
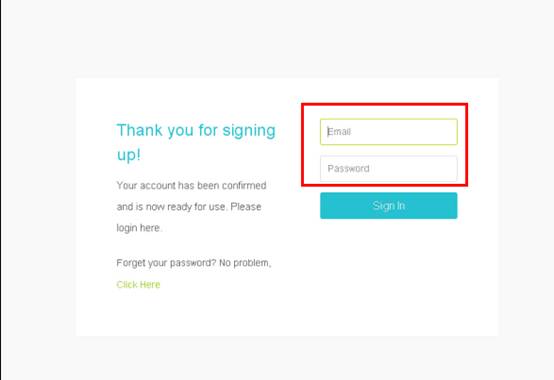
After click the activation link you will be able to login with your username and password.
Step 8
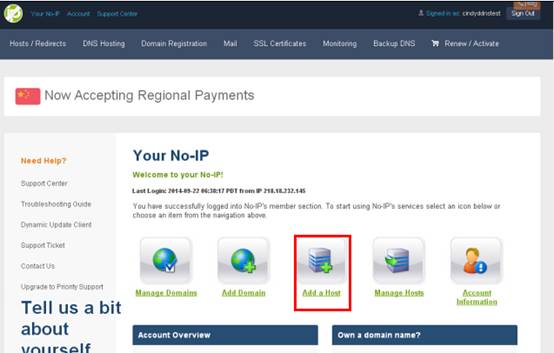
After login in choose Add a Host.
Step 9
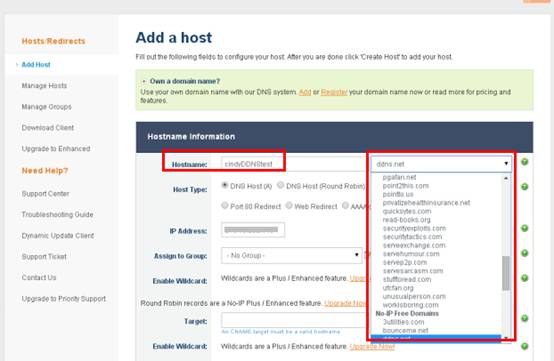
You can then choose a free DDNS domain you like from the drop-down list. For example you can choose ddns.net. Then create a Hostname for the DDNS.
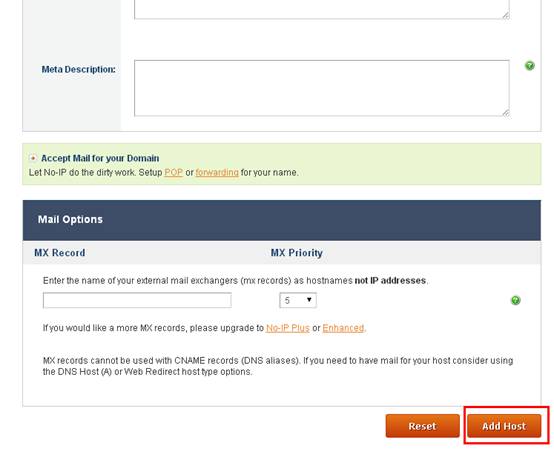
Then scroll down this page and click Add Host
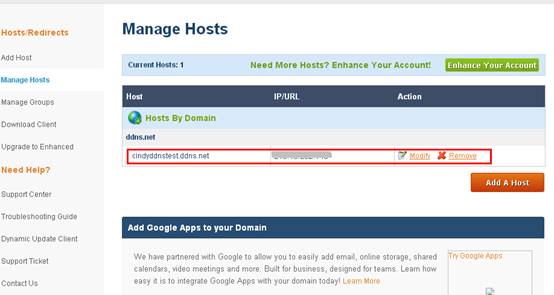
You will see the created host in the list
Enter the Username, Password and Domain Name and click Login and Save button. For some models, it might be Login button and click Save.
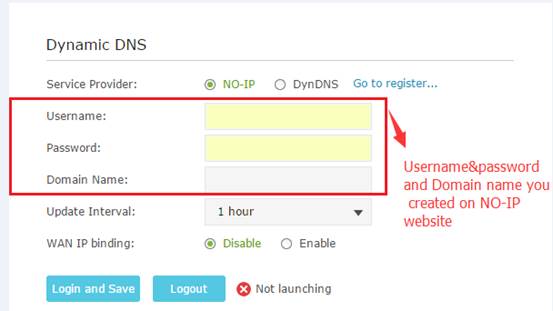
After you go through all the steps above, the DDNS should be working properly
Get to know more details of each function and configuration please go to Download Center to download the manual of your product.
Is this faq useful?
Your feedback helps improve this site.
TP-Link Community
Still need help? Search for answers, ask questions, and get help from TP-Link experts and other users around the world.