How to set up Kasa Room Thermostat (KE110)
Follow the instructions below to install your Kasa Room Thermostat.
Before You Start
A Kasa Hub is required. Make sure your Kasa Hub is successfully added via the Kasa Smart app. You can integrate your room thermostat into Matter-compatible ecosystems via the Matter bridge of your Kasa Hub.
1. Power Up Your Device
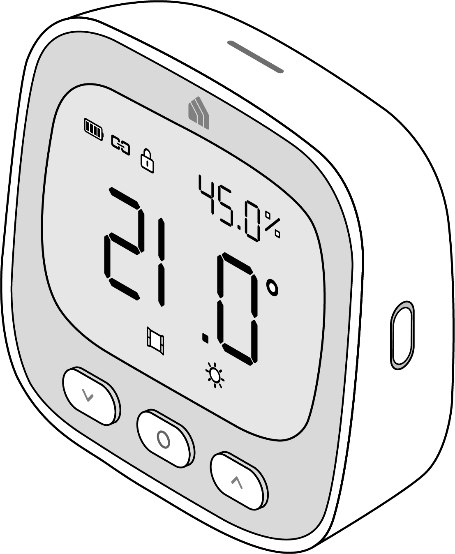
Remove the back panel and insert the batteries. The screen will light up.

2. Set Up Your Device
Make sure you have already added a Kasa Hub. Open the Kasa Smart app and tap +. Select your model and follow the app instructions to complete the setup. Then, connect it to your Kasa TRVs for integrated control.

3. Test Your Device
Take the room thermostat to your preferred location. Press the SYNC button twice, and Kasa Hub will make a sound, indicating a good connection with the hub. If the Kasa Hub does not make a sound, move it closer to your hub.
4. Adjust Temperature
For the default template, press any button on the front panel to activate temperature control. Then tap the Temperature-/+ button to adjust the target temperature of the connected TRVs.
When adjusting the temperature, only the temperature and heating (when target temperature > room temperature) icons will light up. Blinking twice indicates settings were successful.

5. Place Your Device
Option 1: Place it on a table or shelf

Option 2: Attach the non-slip pad to the back and magnetically attach to a metallic surface

Option 3: Stick to a clean wall with the included adhesive

Is this faq useful?
Your feedback helps improve this site.

TP-Link Community
Still need help? Search for answers, ask questions, and get help from TP-Link experts and other users around the world.