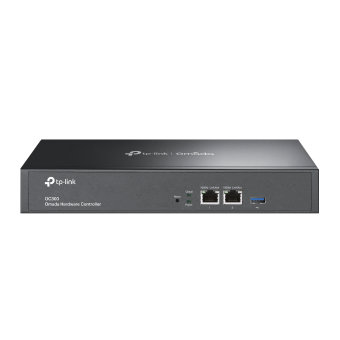
How to enable Cloud Access on Omada SDN controller
This article applies to Omada software controller and hardware controller OC200 and OC300.
With Cloud Access, it’s convenient for you to manage your controller from anywhere, as long as you have access to the internet. Here we introduce how to enable Cloud Access on the Omada software controller and hardware controller separately.
1. Enable Cloud Access on Omada Software Controller.
First, please visit our official website to download and install the Software Controller:
https://www.tp-link.com/en/business-networking/omada-sdn-controller/omada-software-controller/
For Detailed Installation and Setup Instructions, please visit our article for a guided setup:
https://www.tp-link.com/support/faq/3592/
Enable Cloud Access after Completing the Setup Wizard:
On the Global View Site, go to Settings-Cloud Access to enable Cloud-Access.

You will be prompted to log into and bind your TP-Link ID. If you don’t have a TP-Link ID, you will need to register a TP-Link ID.

After binding your account, Cloud Access will be activated. The Status of the Cloud Access will show as “Connected.” Please ensure that the host, with the installed controller has internet access.

After Enabling Cloud Access, visit https://omada.tplinkcloud.com/ to log into the Cloud Controller via your Cloud Account.

Click on Launch button to launch the controller.

2. Enable Cloud Access on the Hardware Controller.
Check hardware controller’s IP from DHCP Server’s client list. Here we connect OC200 to ER605.

Use its IP address to log into the hardware controller.

After we click on “Let’s Get Started”. The following information will display. Just fill in all the necessary information. Click on Log in and bind to Activate the Cloud Access. You can observe the LED status of the Cloud on the hardware controller, which will turn on immediately, once the Cloud Access is activated.
 Note: Please make sure your OC200 has Internet Access, otherwise, it would fail to connect to the Cloud. If the process success, following information will show up.
Visiting https://omada.tplinkcloud.com/, you will notice that hardware controller is bind to your account now and click on Launch button to start enjoying the controller via the Cloud.

If you don’t enable Cloud Access in the Set-Up Wizard, after you go through the Set-Up wizard, you can also turn to Global View-Settings-Cloud Access to enable it.

Is this faq useful?
Your feedback helps improve this site.
TP-Link Community
Still need help? Search for answers, ask questions, and get help from TP-Link experts and other users around the world.


1.0_normal_1592202397383a.png)