How to Configure Access Point Mode on the TL-WR902AC
Create a wireless network from an Ethernet connection. This mode is suitable for dorm rooms or homes where there’s already a wired router but you need a wireless hotspot.
1. Switch the operation mode to AP/Rng Ext/Client and connect the hardware according to Step A to D.
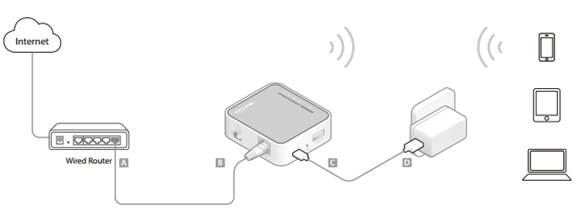
2. Connect your device to the router wirelessly. The Wi-Fi network name and password are on the router’s label.
Note: If the Internet has an authentication process, you will need to authenticate it on EACH device.
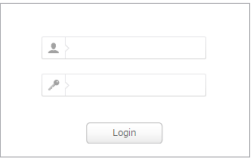
3. Set up the TCP/IP Protocol in Obtain an IP address automatically mode on your computer. Visit http://tplinkwifi.net, and log in with the username and password you set for the router. The default one is admin (all lowercase) for both username and password.
4. Go to Quick Setup, select your time zone and click Next to continue.
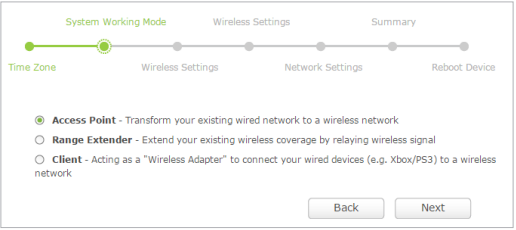
5. Select Access Point as the operation mode on the System Working Mode page.
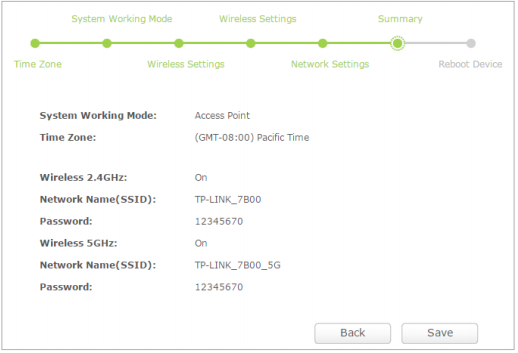
6. Either customize your Network Names (SSIDs) and Passwords for the wireless networks or keep the default ones, and then click Next.
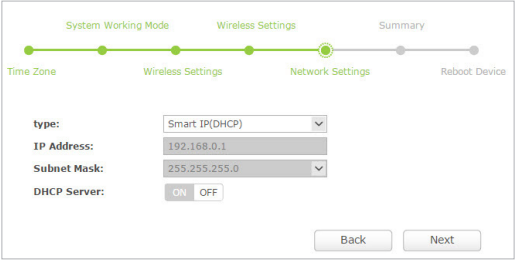
7. Select the LAN IP type of the router or leave the default setting Smart IP for most cases, and then click Next.
8. Click Save to complete the configuration.
Get to know more details of each function and configuration please go to Download Center to download the manual of your product.
Is this faq useful?
Your feedback helps improve this site.
TP-Link Community
Still need help? Search for answers, ask questions, and get help from TP-Link experts and other users around the world.