How to eliminate Port Blocked Alert
Contents
Make sure Loopback Detection is enabled
Identify the ports causing the loop
Objective
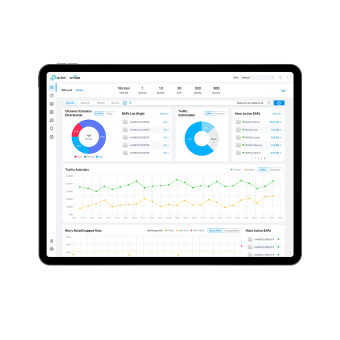
This article introduces how to eliminate Port Blocked Alert on the Omada Controller.
Requirements
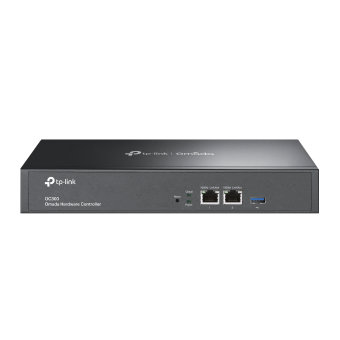
- Omada Controller (Software Controller / Hardware Controller / Cloud-Based Controller)
- Omada Switch
Introduction
When the Loopback Detection function is enabled on the switch, a Port Blocked Alert will be generated if a loop occurs. The Spanning Tree Protocol (STP) can also block corresponding ports according to the network topology to prevent loops that lead to broadcast storms.
The Port Blocked Alert will be automatically cleared once the loop is eliminated. To eliminate the loop, follow the guidance below:
- Ensure Loopback Detection is enabled: When this function is enabled, the switch will block the ports causing the loop in the network topology, and a Port Blocked Alert will be generated on the Controller.
- Identify the ports causing the loop: Identify the blocked ports based on the alert information, and check the network topology to eliminate the loop.
Make sure Loopback Detection is enabled
Step 1. Go to Devices, click the device to open its Properties window, and then go to Config > Services. Here you can find the Loopback Control, which is enabled by default.

Step 2. Check Enable to enable the Lookback Detection function, and then click Apply to save.

Identify the ports causing the loop
Step 1. Go to Logs > Alerts. Here you can find the Port Blocked Alert showing that “XXX's port Tw X/X/X was blocked”. Check the corresponding port in the network topology to eliminate the loop, and the Port Blocked Alert will then be automatically cleared.

Conclusion
The configuration guide above is for eliminating the Port Blocked Alert on the Omada Controller.
Get to know more details of each function and configuration please go to Download Center to download the manual of your product.
Ez a GY.I.K. hasznos volt?
Véleménye segíti az oldal fejlesztését


