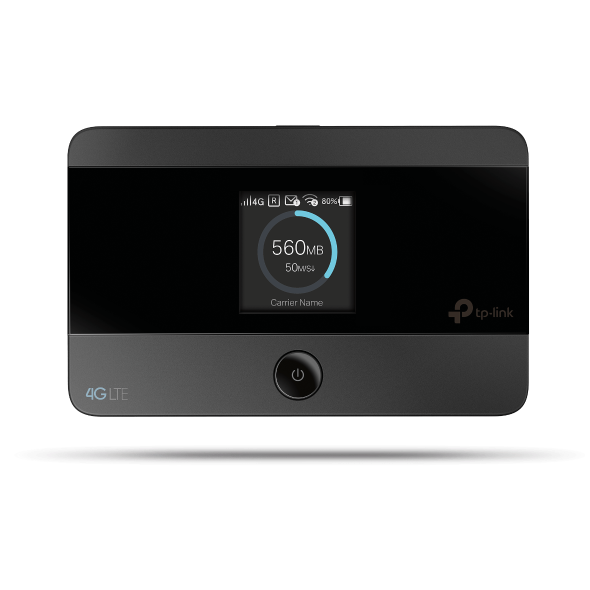
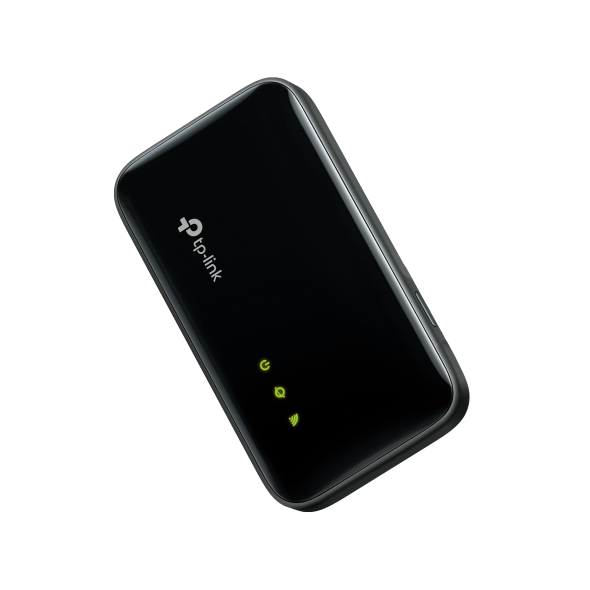
How to use MiFi in foreign countries?
M7000 , M7350 , M7310 , M7200 , M7300
Recent updates may have expanded access to feature(s) discussed in this FAQ. Visit your product's support page, select the correct hardware version for your device and check either the Datasheet or the firmware section for the latest improvements added to your product.
Step 1.
Make sure your SIM card’s data-roaming facility is on.
Step 2.
Make sure your SIM card has not been temporarily stopped because of an overdue bill.
Step 3.
Make sure the ISP you connect to can work at the frequency which your MiFi can support.
For tpMiFi
Step 4.
Enable Data Roaming.
Click menu on the top, click Network on the left side menu, then enable Data roaming.
1. Click menu on the top left corner
2. Click Network
3. Enable Data roaming
Enable “Data Roaming” through tpMiFi
Step 5.
Unlock PIN if the PIN cord function of your SIM card is enabled.
Click menu on the top -> click Network on the left side menu -> click PIN management -> enter PIN -> click Apply.
1. Click PIN management
2. Enter PIN and click Done
Unlock PIN through tpMiFi
Step 6.
If you can’t access to Internet after all steps above, please collect information about APN, username, password and set them manually.
Click menu on the top -> click Network on the left side menu ->click APN management -> click plus sign to create a new profile -> enter Carrier name, APN, Username and Password -> click Save.
1. Click APN management
2. Click here to create a profile
3. Set APN, username, password manually and click Save
Manage APN through tpMiFi
If you still can’t access to Internet, contact TP-Link support for help.
For web interface
Step 4.
Enable Data Roaming.
Click Advanced on the top, then click Dial-up -> Dial-up Settings on the left side menu and enable Data Roaming.
Enable Data Roaming
Enable Data Roaming through web interface
Step 5.
Unlock PIN if the PIN cord function of your SIM card is enabled.
Click Advanced on the top; click Dial-up -> PIN Management on the left side menu; enable PIN Management; enter PIN; click Apply.
Unlock PIN through web interface
Step 6.
If you can’t access to Internet after all steps above, please collect information about APN, username, password and set them manually.
Click Advanced on the top; then click Dial-up -> Dial-up settings on the left side menu; click Create to create a new profile; enter APN, username, password manually; click Save.
1. Click Create
2. Enter APN, Username, and Password manually
3. Click Save.
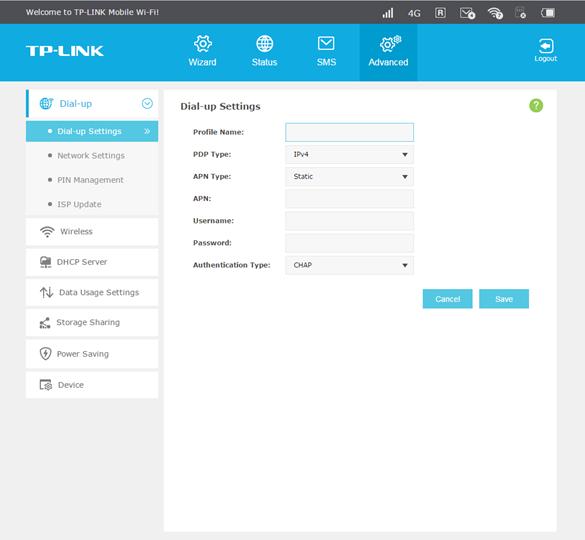
Manage APN through web interface
If you still can’t access to Internet, please save system log and contact TP-Link support for help.
Questa faq è utile?
Your feedback helps improve this site.
What’s your concern with this article?
- Dissatisfied with product
- Too Complicated
- Confusing Title
- Does not apply to me
- Too Vague
- Other
We'd love to get your feedback, please let us know how we can improve this content.
Grazie
We appreciate your feedback.
Click here to contact TP-Link technical support.
Questo sito utilizza i cookies per migliorare l'esperienza di navigazione, analizzare le attività online e offrire agli utenti una migliore user experience. Puoi disattivare o rifiutare il loro utilizzo in qualunque momento. Per maggiori informazioni consulta la nostra privacy policy .
Basic Cookies
Questi cookies sono necessari per il corretto funzionamento del sito e non possono essere disattivati nel tuo sistema.
TP-Link
SESSION, JSESSIONID, accepted_local_switcher, tp_privacy_base, tp_privacy_marketing, tp_smb-select-product_scence, tp_smb-select-product_scenceSimple, tp_smb-select-product_userChoice, tp_smb-select-product_userChoiceSimple, tp_smb-select-product_userInfo, tp_smb-select-product_userInfoSimple, tp_top-banner, tp_popup-bottom, tp_popup-center, tp_popup-right-middle, tp_popup-right-bottom, tp_productCategoryType
Youtube
id, VISITOR_INFO1_LIVE, LOGIN_INFO, SIDCC, SAPISID, APISID, SSID, SID, YSC, __Secure-1PSID, __Secure-1PAPISID, __Secure-1PSIDCC, __Secure-3PSID, __Secure-3PAPISID, __Secure-3PSIDCC, 1P_JAR, AEC, NID, OTZ
Zendesk
OptanonConsent, __cf_bm, __cfruid, _cfuvid, _help_center_session, _pendo___sg__.<container-id>, _pendo_meta.<container-id>, _pendo_visitorId.<container-id>, _zendesk_authenticated, _zendesk_cookie, _zendesk_session, _zendesk_shared_session, ajs_anonymous_id, cf_clearance
Analytics e Marketing Cookies
I cookies analitici ci permettono di analizzare le tue attività sul nostro sito allo scopo di migliorarne le funzionalità.
I marketing cookies possono essere impostati sul nostro sito dai nostri partner pubblicitari allo scopo di creare un profilo di tuo interesse e proporti contenuti pubblicitari rilevanti su altri siti.
Google Analytics & Google Tag Manager
_gid, _ga_<container-id>, _ga, _gat_gtag_<container-id>
Google Ads & DoubleClick
test_cookie, _gcl_au