How to go through Set-up Wizard when Starting Omada SDN controller
Part Ⅰ: Install the Controller
-
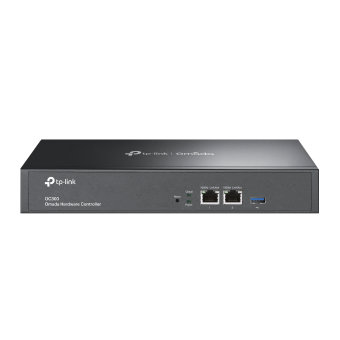
For hardware Controller OC200 and OC300
Step 1: Build the network topology
The network topology that you create for Omada SDN Controller varies depending on your business requirements. The following figure shows a typical topology for a high-availability use case.

Step 2: Go to Gateway's DHCP client list to find the OC200's IP address. (Using our router ER7206 as an example)

Step 3: Launch a web browser and type the IP address of the controller in the address bar, then press Enter (Windows) or Return (Mac)
-
For Software Controller
Go to this link to download the software controller on a computer running on your network: https://www.tp-link.com/en/support/download/omada-software-controller/#Controller_Software

Part Ⅱ: Launch the Controller
Click Let’s Get Started.

Note: Hardware Controller boot-up may take several minutes. If you don’t get the configuration page, please wait for a few moments.
Part Ⅲ: Do basic configurations
In the web browser, you can see the configuration page. Follow the setup wizard to complete the basic settings for Omada Controller.
Step1. Specify a name for Omada Controller, and set your region and timezone. Then select the application scenario depending on your needs. Click Next.

Step2. The setup page displays all discovered devices in the network. Select all the devices to be managed and click Next. You can also skip this step and add devices after completing the wizard.

Step3. Configure WAN Settings Overrides to preset WAN settings if needed. With WAN Settings Overrides enabled, the WAN settings on the Controller will cover the original WAN settings of the Omada Router in standalone mode once the Router is adopted. If you do not have an Omada gateway or you have already configured WAN settings on your Omada gateway, skip this step.
A. Enable WAN Settings Overrides, select your gateway model, preconfigure WAN ports, set the online detection interval, then click Apply.

B. Preset IPv4 and IPv6 settings and customize the MAC address if needed. Click Next.

Step4. Set a wireless network name (SSID) and password for the EAPs to be managed. Omada Controller will create encrypted wireless networks. You can set Guest Wi-Fi to provide open Wi-Fi access for guests without disclosing your main network if needed. Click Next.
Note: In this step, you can only set the SSID with WPA-Personal encryption. If you need other encryption methods for the SSID, please skip this step and set the SSID after the wizard.

Step5. Set up Controller Access settings
A. Create an Administrator username and password for login to the Omada controller. Specify the email address for resetting your password in case that you forget the password. After logging into Omada Controller, set a mail server so that you can receive emails and reset your password. For how to set a mail server, refer to: why we need to configure mail server

Note: The Administrator Name and Password here are the username and password of the controller for login locally.
B. Create a Device Account. This account will be the account for the Omada Devices themselves adopted in the default site. Please distinguish the differences between the Administrator Account and the Device Account as they are used in different scenarios.

C. If you want to access the controller to manage networks remotely, enable Cloud Access, and bind your TP-Link ID to your Omada Controller.

If you don't have a TPLINK ID, you can also register one. register TPLINK ID
Read and agree to TP-Link’s Terms of Use and Privacy Policy. You can join our User Experience Improvement Program to help us improve our product and services. Click Next.

Step6. Review your settings and click Finish.

Step7. Once the basic configurations are finished, the browser will refresh the webpage and you will get the login page of the Controller. Log in to the management interface using the Administrator Account you have set in the basic configurations, then you can get into the management interface of the Controller.

Once you log in to the controller, you could view the Dashboard.

このFAQは役に立ちましたか?
サイトの利便性向上にご協力ください。


1.0_normal_1592202397383a.png)

