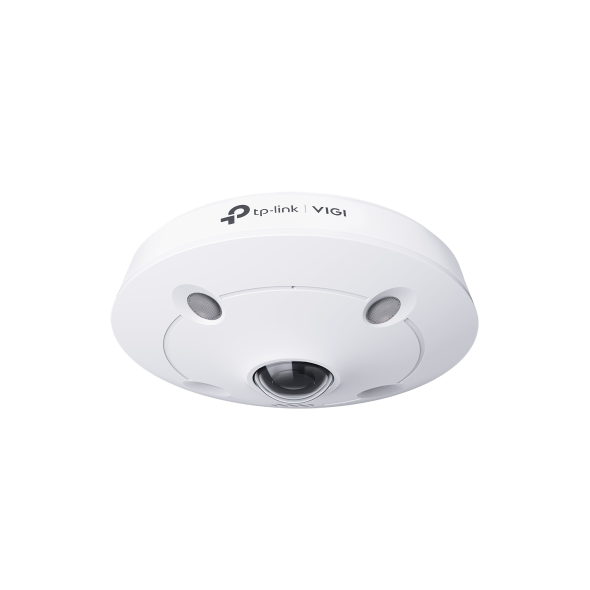
How to set up VIGI Cameras

InSight S445 , InSight S245 , InSight S485 , InSight S485PI , VIGI C540V , VIGI C540S , VIGI C250 , VIGI C450 , VIGI C330 , InSight S385PI , VIGI C330I , VIGI C455 , InSight S455 , VIGI C230I Mini , InSight S655I , VIGI C340 , VIGI C340-W , VIGI C540 , VIGI C385 , VIGI C420 , VIGI C430I , VIGI C220I , VIGI C345 , VIGI C240I , InSight S225 , InSight S345 , VIGI C440-W , InSight S445ZI , InSight S385 , VIGI C340S , VIGI NK4P-T4425-2T , VIGI C540-W , VIGI C230 , VIGI C350 , VIGI C300P , VIGI C430 , VIGI C355 , InSight S345ZI , VIGI C320I , VIGI C340I , VIGI C420I , InSight S355 , InSight S245ZI , VIGI C340HWSM-W4 , EasyCam C320 , VIGI C300HP , VIGI C240 , VIGI C485 , VIGI C400P , VIGI C440 , VIGI C440I , VIGI C445 , VIGI C230I
최근 업데이트로 인해 이 FAQ에서 설명하는 기능에 대한 액세스가 확장되었을 수 있습니다. 제품 지원 페이지를 방문하여 올바른 하드웨어 버전을 선택하고 데이터시트나 펌웨어 섹션에서 제품의 최신 개선 사항을 확인하세요. 제품 가용성은 지역에 따라 다르며 일부 모델은 특정 지역에서 제공되지 않을 수 있습니다.
Contents
Configuration via Web Management Interface
Configuration via VIGI Config Tool
Objective
VIGI Cameras can be managed and initialized through multiple ways. The most basic method is using the web management interface. The VIGI App comes in handy if the you only have a mobile phone. The VIGI Config Tool, on the other hand, is designed for batch initialization of VIGI cameras.
This article introduces the three initialization options.
Requirements
- VIGI Camera
- VIGI App
- PC and VIGI Config Tool
Introduction
To initialize a VIGI Camera, you need to ensure the camera and the device used for configuration are on the same network segment. You can then set up your VIGI camera in one of the following methods.
Configuration via Web Management Interface
Step 1. Power on the camera and connect it to the network. Ensure that the PC is connected to the same network and then access the camera’s web management interface using its IP address.
Step 2. Configure the country/region, time zone, and language settings. The default language is English.
Step 3. Set the management password for the device. The default username is "admin" and cannot be changed.
Step 4. (Optional) Configure security questions and a password recovery email. You may skip this step.
Step 5. Initialization is complete.
Configuration via VIGI App
If a PC is unavailable, you can quickly configure the camera via the VIGI App. Once you log in to the VIGI App with a TP-Link ID and connect your mobile device to the network, you can link the camera to the TP-Link ID.
Step 1. Log in to the VIGI App. For optimal connection, it is recommended to connect both the phone and VIGI Camera to the same network.
Step 2. If you only need to add specific devices, tap + in the upper right corner and select Scan/Add Device. Scan the QR code on the label of the device. To add all devices connected to the same Wi-Fi, select Auto Discover and scan all of the devices.
Step 3. Ensure the camera is powered on, and its LED status light is flashing red and green. Tap Next.
Step 4. Set the camera's password, time zone, and name.
Step 5. Click Next to add the device.
Step 6. Once you hear a “ding-dong” sound, the device has been successfully added.
Configuration via VIGI Config Tool
If you have multiple VIGI Cameras to configure, you can use the VIGI Config Tool for batch setup. Note that all VIGI Cameras will adopt the same settings.
Step 1. Visit the TP-Link official website to download the VIGI Config Tool via this link.
Step 2. Install the VIGI Config Tool on a Windows PC and connect the PC and VIGI Cameras to the same network segment.
Step 3. Open the VIGI Config Tool and select all VIGI Cameras you want to configure.
Step 4. Click Batch Action and select Batch Initialize.
Step 5. Set the username and password for all devices in the batch. The default username is "admin" and cannot be changed.
Step 6. Configure the country/region, time zone, and other settings for all devices in batch.
Step 7. Now you have completed the initialization process.
Conclusion
Now that you've finished configuring VIGI Camera.
Get to know more details of each function and configuration please go to Download Center to download the manual of your product.
해당 FAQ가 유용했나요?
여러분의 의견은 사이트 개선을 위해 소중하게 사용됩니다.
해당 본문에 문제가 있습니까?
- 제품에 대한 불만족
- 너무 복잡함
- 명확하지 않은 제목
- 적용되지 않음
- 너무 모호함
- 기타
감사합니다
귀하의 의견에 감사드립니다. TP-Link 기술 지원팀에 문의하려면
여기를 클릭 해주세요.
이 웹사이트는 웹사이트 탐색 개선, 온라인 활동 분석, 웹사이트상의 사용자 경험 개선을 위해 쿠키를 사용합니다. 귀하는 언제든지 쿠키 사용을 거부할 수 있습니다. 자세한 내용은 개인정보 처리방침에서 확인할 수 있습니다.
기본 쿠키
이 쿠키는 웹사이트가 작동하는 데 필요하며 사용자의 시스템에서 비활성화할 수 없습니다.
TP-Link
SESSION, JSESSIONID, accepted_local_switcher, tp_privacy_base, tp_privacy_marketing, tp_smb-select-product_scence, tp_smb-select-product_scenceSimple, tp_smb-select-product_userChoice, tp_smb-select-product_userChoiceSimple, tp_smb-select-product_userInfo, tp_smb-select-product_userInfoSimple, tp_top-banner, tp_popup-bottom, tp_popup-center, tp_popup-right-middle, tp_popup-right-bottom, tp_productCategoryType
Youtube
id, VISITOR_INFO1_LIVE, LOGIN_INFO, SIDCC, SAPISID, APISID, SSID, SID, YSC, __Secure-1PSID, __Secure-1PAPISID, __Secure-1PSIDCC, __Secure-3PSID, __Secure-3PAPISID, __Secure-3PSIDCC, 1P_JAR, AEC, NID, OTZ
Zendesk
OptanonConsent, __cf_bm, __cfruid, _cfuvid, _help_center_session, _pendo___sg__.<container-id>, _pendo_meta.<container-id>, _pendo_visitorId.<container-id>, _zendesk_authenticated, _zendesk_cookie, _zendesk_session, _zendesk_shared_session, ajs_anonymous_id, cf_clearance
분석 및 마케팅 쿠키
분석 쿠키는 웹사이트의 기능을 개선하고 조정하기 위해 웹사이트에서의 사용자 활동을 분석하는 데 사용하는 쿠키입니다.
마케팅 쿠키는 귀하의 관심사에 대한 프로필을 생성하고 다른 웹사이트에서 관련 광고를 표시하기 위해 당사의 광고 파트너가 당사 웹사이트를 통해 설정할 수 있습니다.
Google Analytics & Google Tag Manager
_gid, _ga_<container-id>, _ga, _gat_gtag_<container-id>
Google Ads & DoubleClick
test_cookie, _gcl_au