How to access Internet via USB cable with 4G Mobile Wi-Fi
Эта статья подходит для:
Usually we can only access Internet via MiFi product’s Wi-Fi. However, For 4G Mobile Wi-Fi, We can also access Internet via USB port, which is called "RNDIS" function. Here we will introduce how we can access Interent via M7350's USB port as an example.
Note:
For now, RNDIS function only supports windows xp/vista/7/8/10.
For windows Vista/7/8/10:
In windows vista/7/8/10 computer, RNDIS is plug and play, which means you connect your computer to M7350 via a USB cable and you can go to Internet.
Step 1:
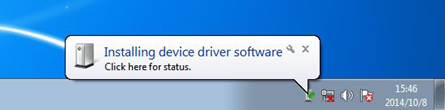
Please connect M7350 to your computer via a USB cable, and your computer will install M7350’s driver automatically.
Step 2:
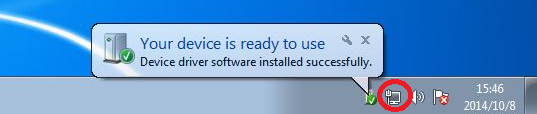
After a while, when you see “Your device is ready to use”, it means that the driver has been installed successfully. Now you may still need to wait for a moment
until the network icon is clean without any red cross or yellow exclamation on it, then you can go to Internet.
For windows xp:
In windows xp computer, we need to install M7350’s driver manually.
Step 1:
First we need to download the M7350’s driver from TP-Link official website, and extract it on our computer.
Step 2:
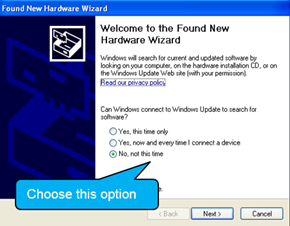
Connect M7350 to your windows XP computer via a USB cable, and then you can see a popup window below. Choose “No, not this time” and click “Next”.
Step 3:
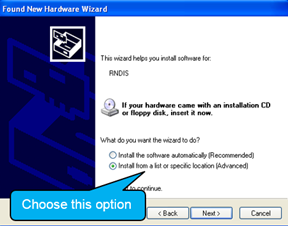
Choose “Install from a list of specific location”, click “Next”.
Step 4:
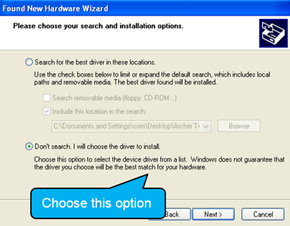
Choose “Don’t search. I will choose the driver to install”, click “Next”.
Step 5:
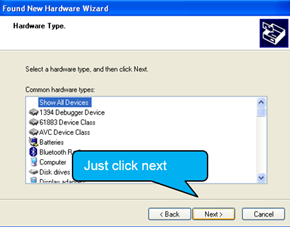
In this window, we needn’t choose anything. Just click “Next”.
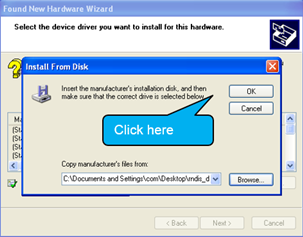
Step 6:
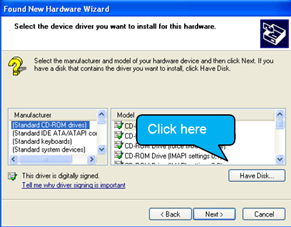
Click “Have Disk…” here.
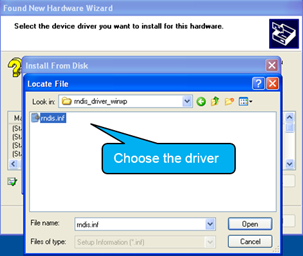
Step 7:
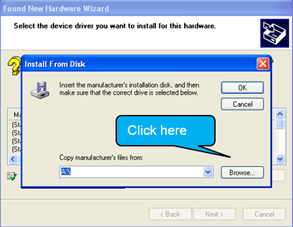
Click “Browse” to choose the M7350’s driver we have downloaded just now.
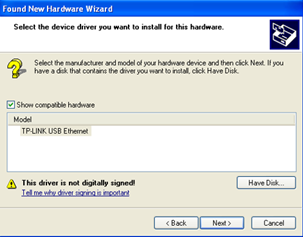
Step 8:
We need to click “Next” in this window.
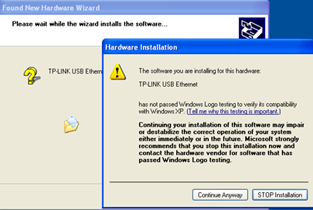
Step 9:
Here we may see a warning below. Please just click “Continue Anyway” as this warning is meaningless.
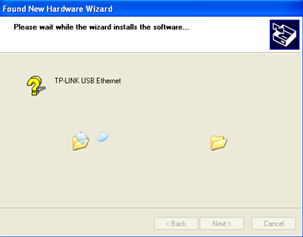
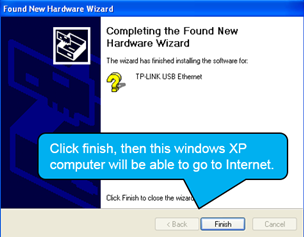
Step 10:
Then the driver will be installed. When the installation is finished, click “Finish”. After a while, then you can go to Internet.
If you have any doubt, please be free to contact TP-Link support service.
Полезен ли этот FAQ?
Ваши отзывы помогают улучшить этот сайт.


1.0_1494400765924x.jpg)
From United States?
Получайте информацию о продуктах, событиях и услугах для вашего региона.