How to set up my TP-Link Tapo smart device (BLE) via Tapo App
TP-Link smart devices can be controlled by Tapo App locally and remotely. By this means we can easily make the home smart. This article will introduce how to connect the TP-Link Tapo Smart Device (BLE) to the home network.
Note:
If your Apple device is iOS 14 or above, please have the "Local Network" enabled first following the FAQ.
Before we begin:
1. Please download Tapo App from App Store or Google Play and install it on your smartphone.
2. Connect your smartphone/pad to your home Wi-Fi network.
3. Plug your Smart device into the power source.
Here we take Tapo P110 for example.
1. Open the Tapo App and login to your cloud account.
a. If you don’t have an account, please sign up with one refer to How to Create An Account in Tapo App.
b. Login to the Tapo App with your cloud account.

2. Add the smart device on Tapo App. Tap the ‘+’ icon and select “Add Device”, then click on “Plugs” and select the model number.

Note: Some models may support different setup modes due to hardware differences (identify your device's setup mode from the package box and select the correct mode for setup. Choosing the wrong mode can result in setup failure.).
For Matter-enabled devices, please choose Bluetooth Setup directly.
3. Plug your Tapo plug into a power outlet and wait until the LED is blinking Orange and Geen/Blue. Enable Bluetooth on your phone, then tap the ALREADY ORANGE AND GREEN button.
Keep your phone or tablet close to your Tapo plug during the setup.
Note: If the LED does not blink orange and green, tap LED not blinking orange and green? for help or reset the device as per the instruction.

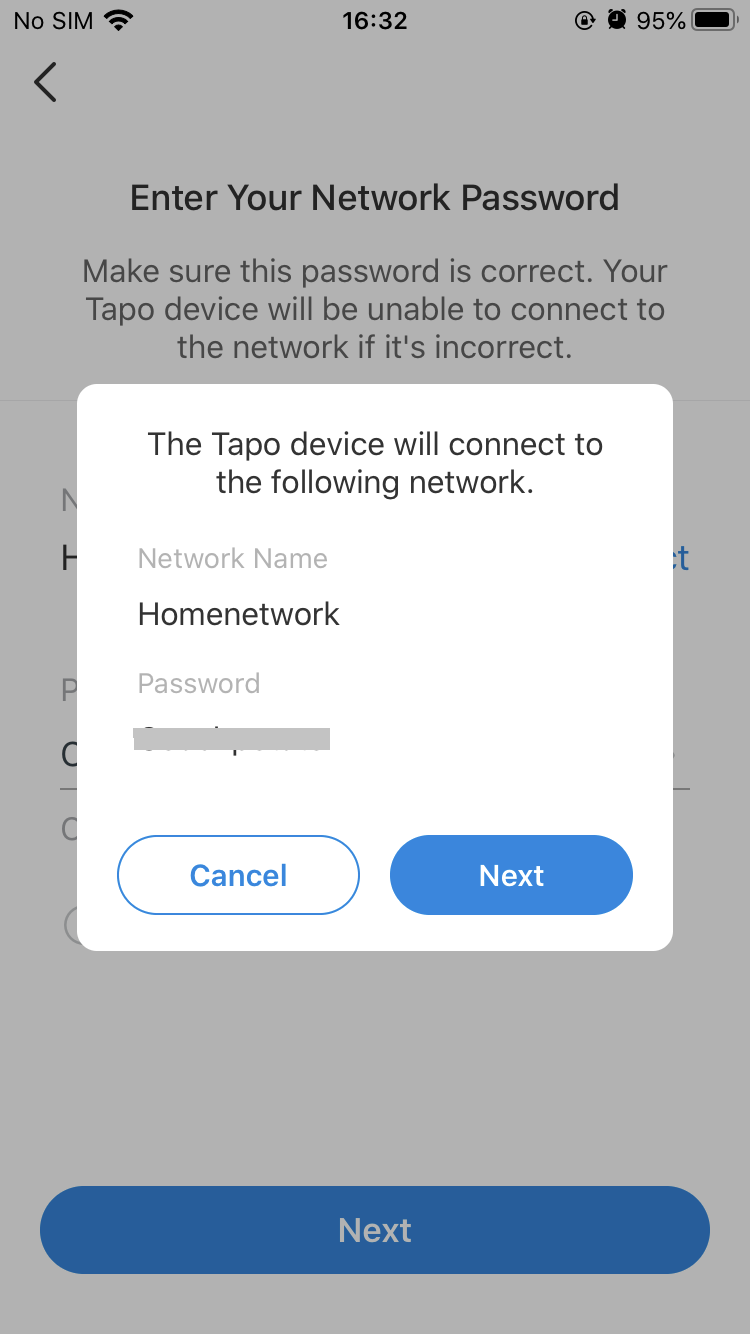
4. After the device is discovered, please connect it to your home Wi-Fi, then follow the instructions on the App to finish the setup.
If you cannot find your home network in the Wi-Fi list, please click on “RESCAN” in the upper right corner. If the issue persists, please click on “Can’t find your Wi-Fi?” in the bottom, then enter your home network SSID and password manually.

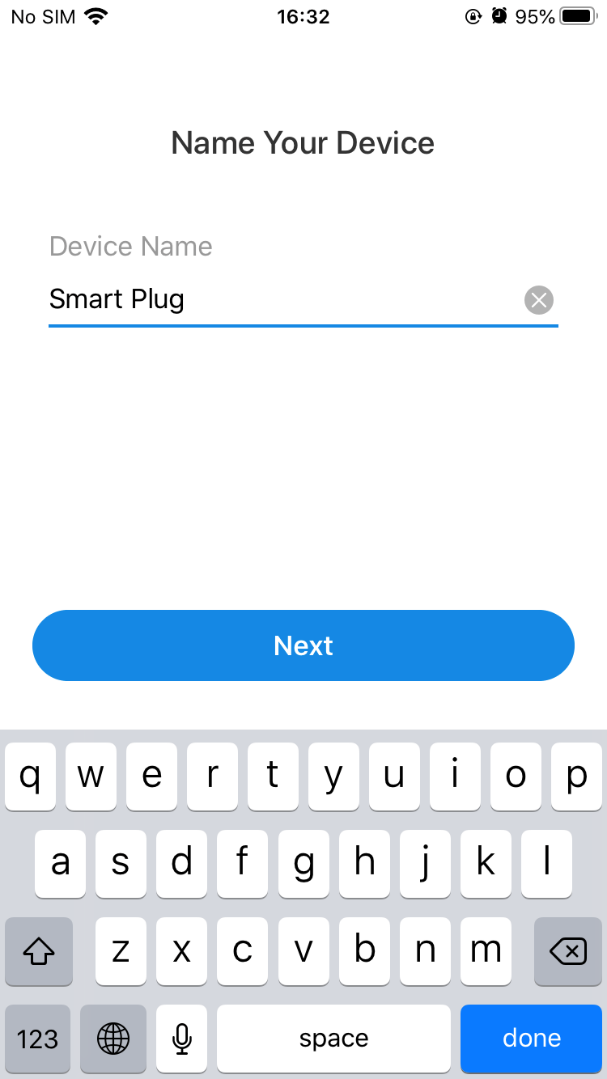
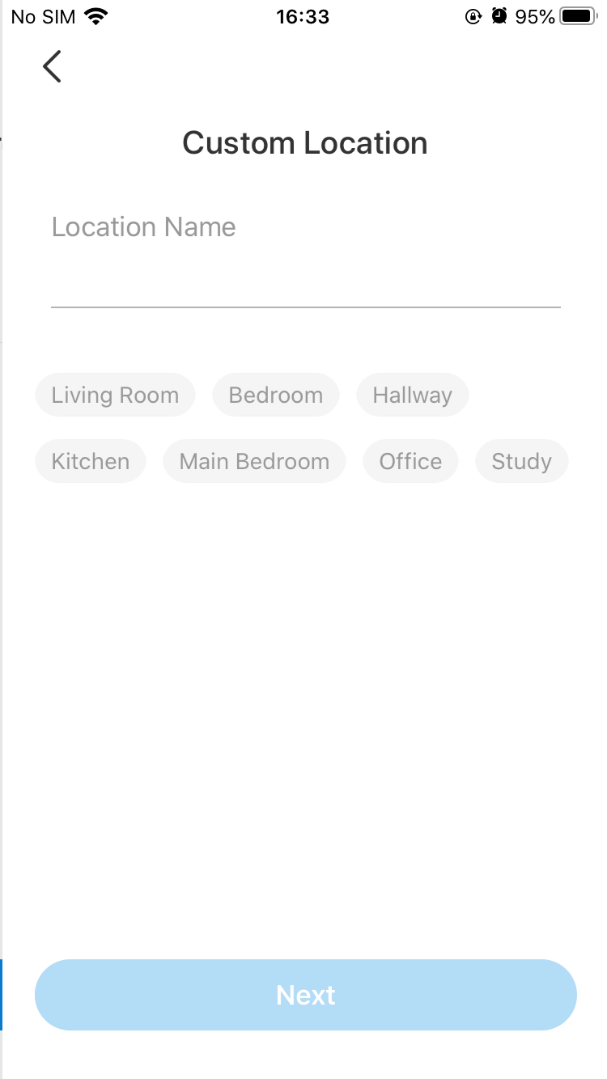
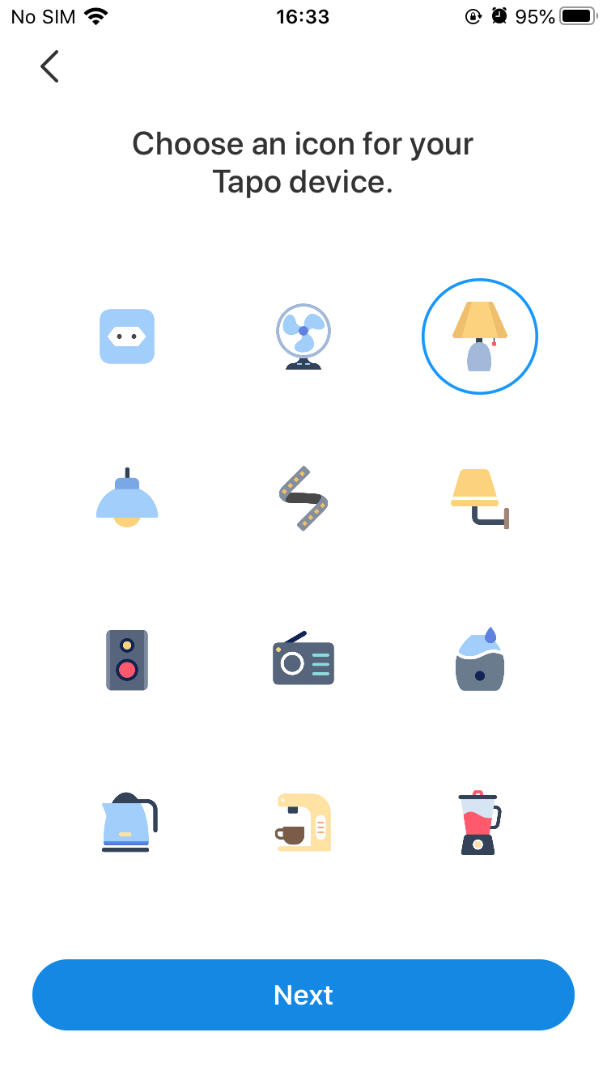
5. After your Tapo device is connected to the home Wi-Fi, you can give your Tapo device a name, set the location and customize its icon for you to identify it easily.
6. After setting it up, you can check for the latest firmware for optimum performance.
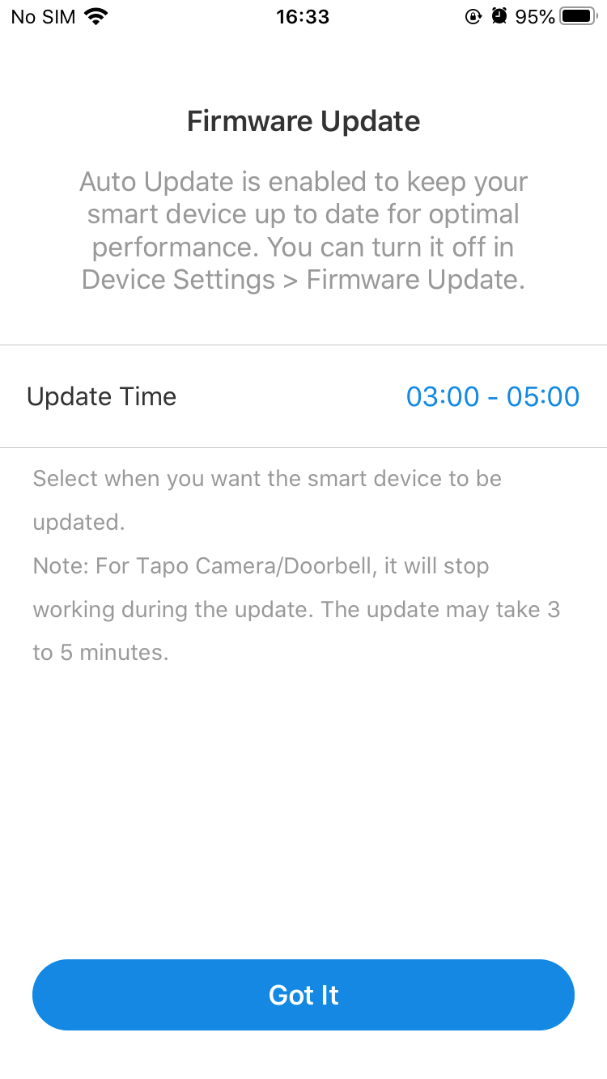
7. Set the Auto Update time to keep your smart devices always updated.
8. Done! Now you can manage your Tapo plug via the Tapo App anytime, anywhere.
If you still failed to configure the Tapo devices, please refer to the troubleshooting guide: What should I do if I fail to configure the Tapo devices.
More things you may want to do.
After the configuration of the Tapo smart device, you may want to use the Amazon Echo or Google Home to help manage the device. For this purpose, you can refer to the FAQs below for instructions.
How to make my Tapo / Kasa device work with Amazon Alexa
How to connect my Tapo / Kasa smart device to Google Home
To get to know more details of each function and configuration, please go to Download Center to download the manual of your product.
¿Es útil esta pregunta frecuente?
Sus comentarios nos ayudan a mejorar este sitio.


