How to Use PSAdmin to upgrade the Print Server
Este artículo se aplica a:
This article describes how to use PSAdmin software to upgrade the Print Server (using Windows XP as the operating system) on Windows computer.
Before we begin, please check the following two things:
A. IP address: Please check the IP address of the computer, make sure it is in the same subnet as the Print Server. For example, if the IP address of the Print Server is 192.168.0.10, we can make the computer’s IP address 192.168.0.100.
You can refer to the FAQ 14 to get more detailed information about how to change the IP address: FAQ_14.
B. Upgrade File: Download the upgrade file from our website and put it into this folder: C:\Program Files\Network Print Monitor\, then rename the upgrade file to MPS35.BIN.
Download page: download center
Step1: After the CD installation of the Print Server, the PSAdmin software must be installed in the computer. We can find it in the Start menu----All programs----Network Print Server.

Step2: When open the PSAdmin software, it will search for the Print Server on the network. Or we can use the refresh button to search for the Print Server manually.
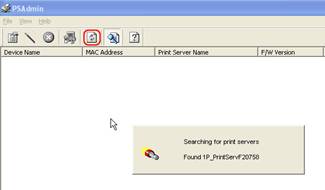
Step3: If everything is ready, we can upgrade the Print Server now.
Press the Upgrade Button in the toolbar.

Then the upgrade window will appear:
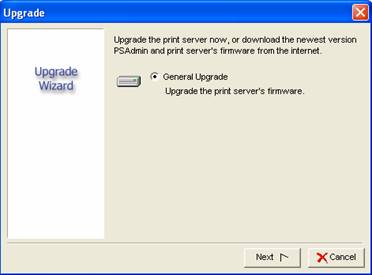
Click Next to continue the upgrade procedure, and wait for the upgrade to finish until a window appears. Do not click the Cancel button unless necessary.
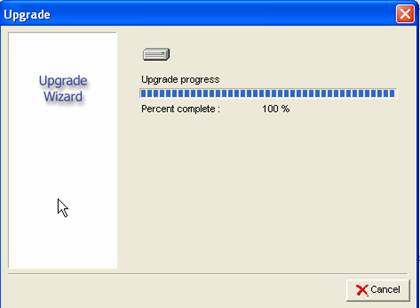
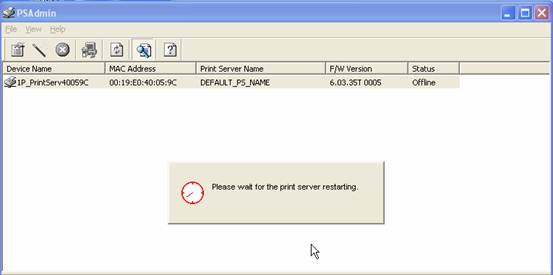
The Print Server will then restart automatically. After restarting, the upgrade procedure will finish.
Note:
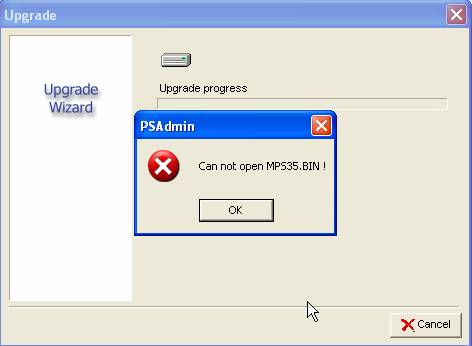
If the window below appears in the upgrade process, please check the upgrade file’s location and file name again. Make sure it is located in the following folder C:\Program Files\Network Print Monitor\ and named MPS35.BIN.
¿Es útil esta pregunta frecuente?
Sus comentarios nos ayudan a mejorar este sitio.