How to use Telephony features(VOIP) on Deco X73-DSL
Telephony provides you with various features to enable you to make calls via the internet. You can add your telephone numbers, contacts, and telephony devices to your Deco, check incoming/outgoing/forwarding calls, make emergency calls, receive voicemails, block certain calls, and more.
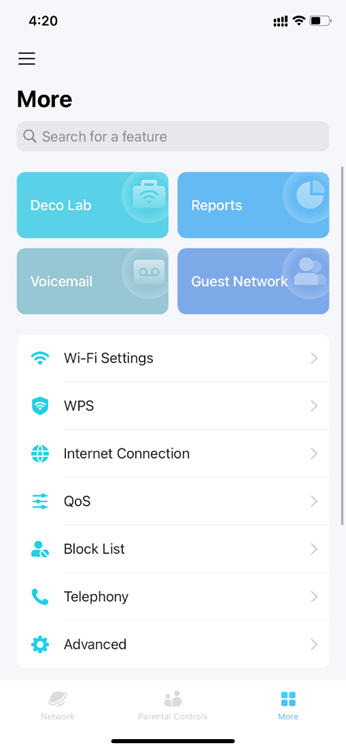
Open the Deco app. Go to More and select Telephony. Then you can configure the following features:
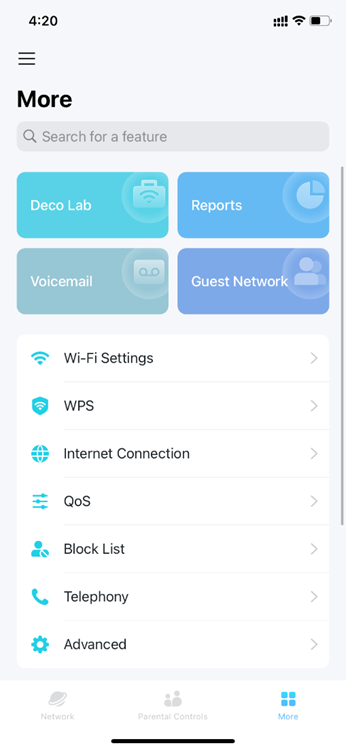
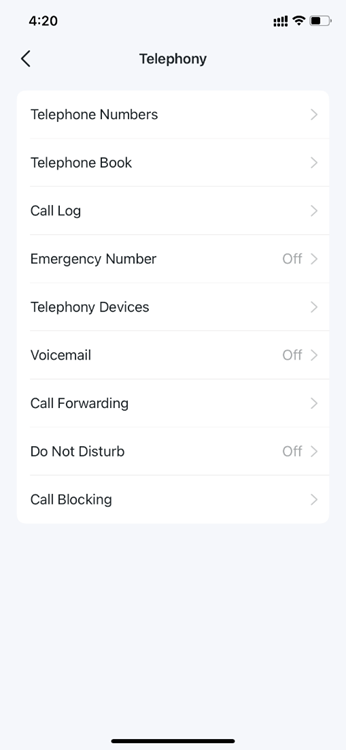
Before using telephony services, you need to enter your telephone numbers to your Deco.
1. Tap Telephone Numbers > +. Choose your telephone provider, enter your telephone number and fill in the information provided by your VOIP Service Provider.
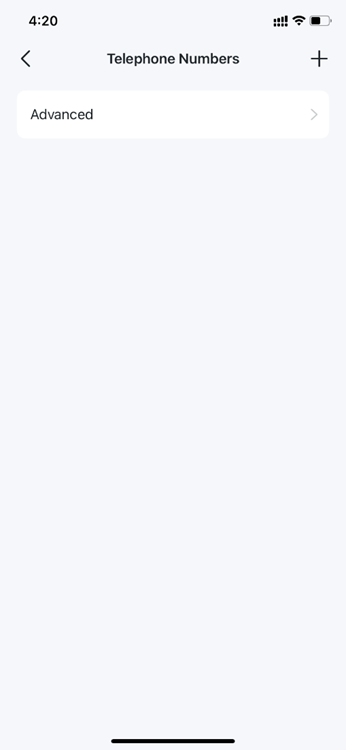
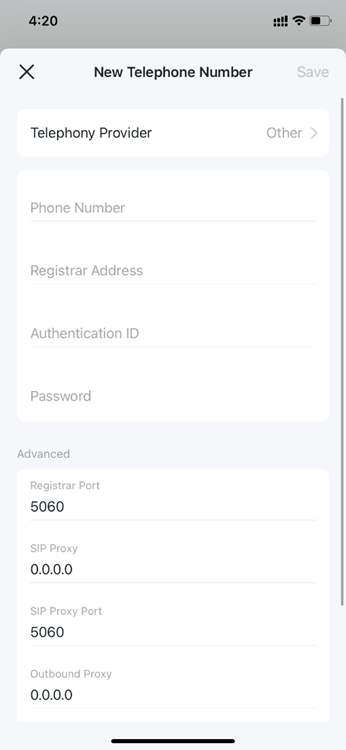
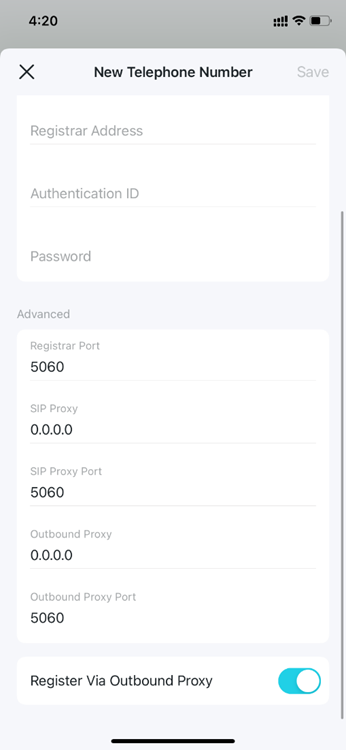
- Telephony Provider: Choose your telephony provider. If your telephony provider is not listed here, select Other.
- Phone Number: The phone number you use to dial and answer.
- Registrar Address: Usually a domain name, if not, an IP address.
- Authentication ID and Password: Not necessary information, but if you have, fill them in.
- Registrar Port: The port number for the SIP Registrar server.
- SIP Proxy: The network address of SIP proxy, which can be an IP address or a domain name.
- SIP Proxy Port: The port number of the SIP proxy.
- Outbound Proxy: The network address of the outbound proxy, which can be an IP address or a domain name.
- Outbound Proxy Port: The port number of outbound proxy.
- Register Via Outbound Proxy: Whether to register the telephony account via SIP outbound proxy.
2. Tap Advanced to have more settings, then tap Save to apply the settings.
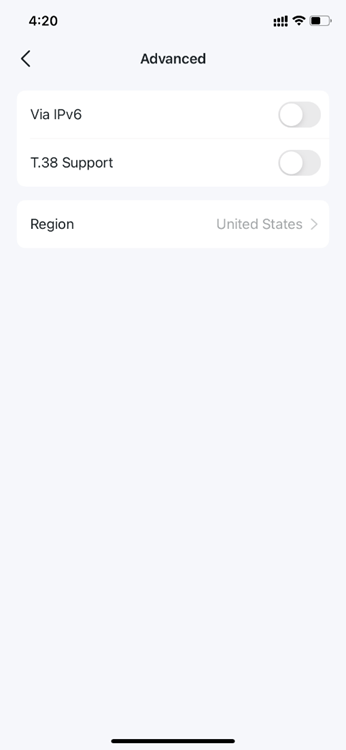
- Via IPv6: When enabled, telephony functions will use IPv6 protocol for external connection, such as registering telephony account, making and answering external calls.
- T.38 Support: T.38 specifies a protocol for transmitting fax across IP network in real-time. It allows the transfer of fax documents in real-time between two standard Group 3 facsimile terminals over the internet or other networks using IP protocols. It will only function when both sites support this feature and are enabled.
- Region: Select a country/region where you are located. The Deco is embedded with some default parameters according to different countries such as ring tones.
You can store all the contacts on your Deco and set speed dial number for some contacts. Speed Dial allows you to reach the contact by dialing the reduced number of keys (such as 01) rather than a long phone number.
Follow the steps below to have a telephone book on your Deco.
1. Tap Telephone Book > + to create a new contact.
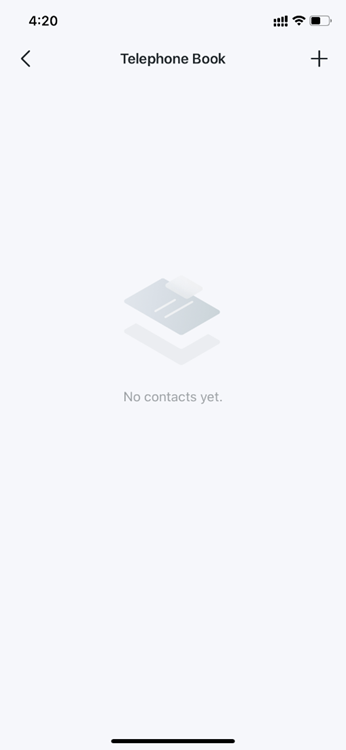
2. Fill in the name and phone number of the contact. You can set a Speed Dial Number for the contact.
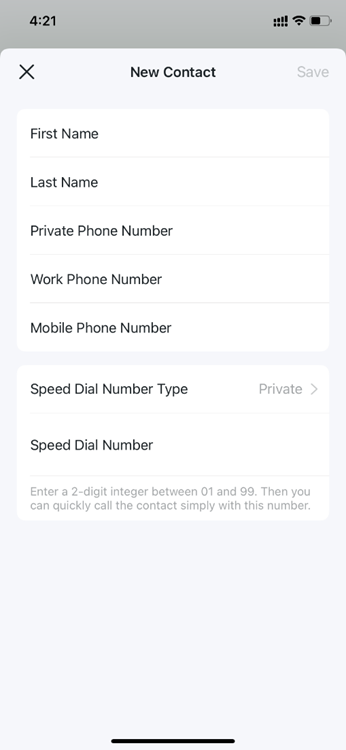
- Speed Dial Number Type: Choose a speed dial number type from Private/Work/Mobile Phone Number.
- Speed Dial Number: Enter the 2-digit number between 01 and 99, then you can quickly call the contact simply with this number.
Call Log records detailed information of incoming, outgoing and forwarding calls on your Deco.
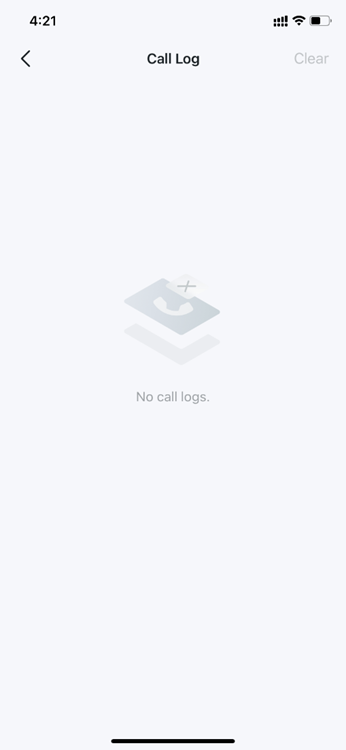
1. Tap Call Log, and you can see the records of all the calls. Missed calls will be shown in red.
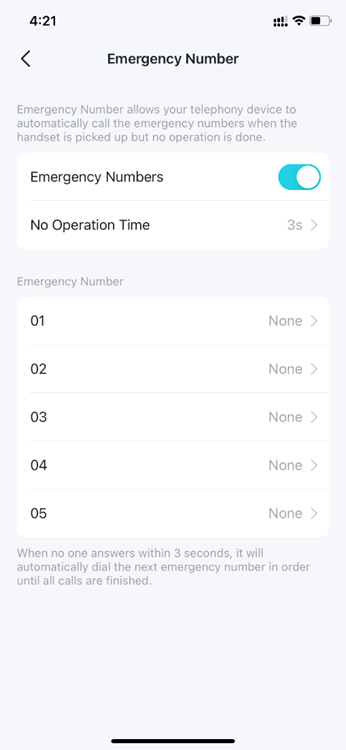
Emergency Number allows your telephony device to automatically call the emergency numbers when the phone receiver is picked up but no operation is done. In this way the old, the kids, the patient or the pregnant in house are able to send signals for help when emergencies occur.
For example, if you have set No Operation Time as 3s, and added 2 emergency numbers as shown below, if no operation is done 3s after the phone receiver is picked up, your telephony device will call the 01 number first and then call the 02 number.
1. Tap Emergency Number and enable Emergency Number.
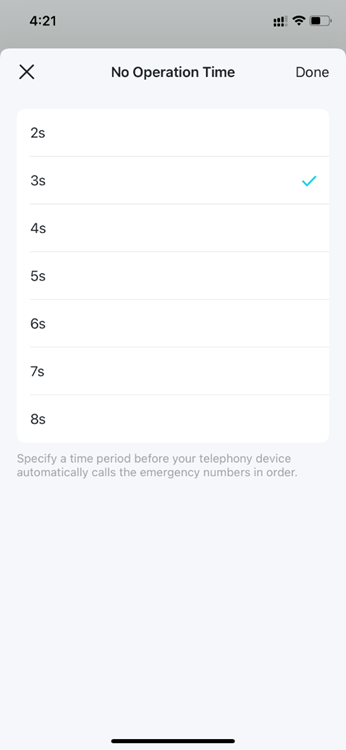
2. Tap No Operation Time to specify a time period before your telephony device automatically calls the emergency numbers.
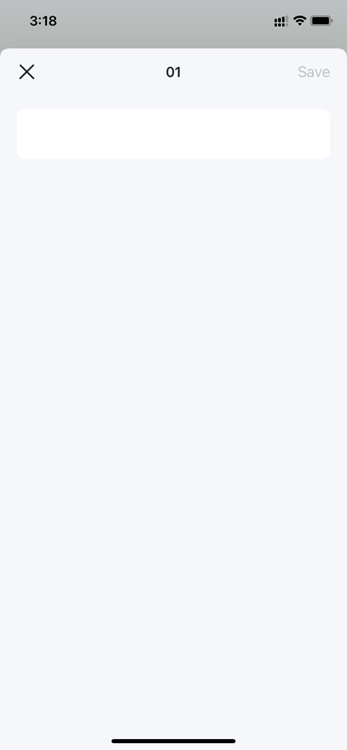
3. Set the number to be automatically reached. If more than one number is set, your Deco will automatically call the emergency numbers in order. Up to 5 emergency numbers can be set.
If you have more than one telephony devices and you don't want all telephones ring at the same time when a number is called, you can add your telephony devices to your Deco and customize rules for each telephony device.
- Analog Phone
You can add analogue phones and specify different incoming and outgoing call numbers for them separately. Follow the steps below.
1. Connect your analog phone to your Deco's RJ11 Analog Phone Port. Up to 2 analog phones can be connected and added to your Deco.
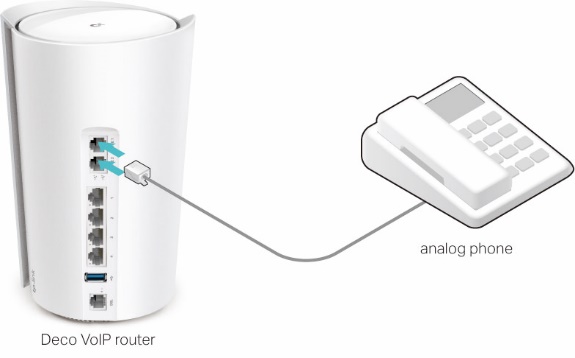
2. Launch your Deco app and go to More tab. Select Telephony > Telephony Devices.
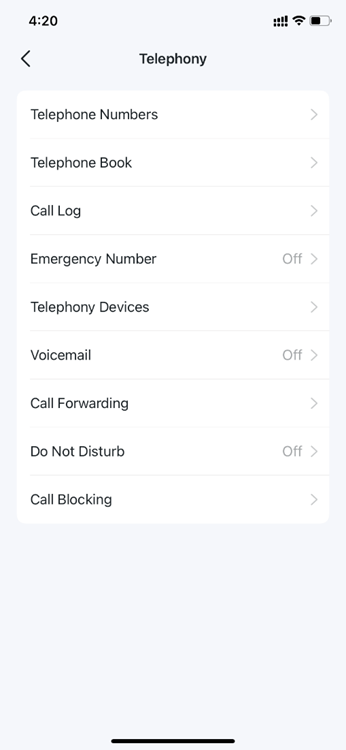
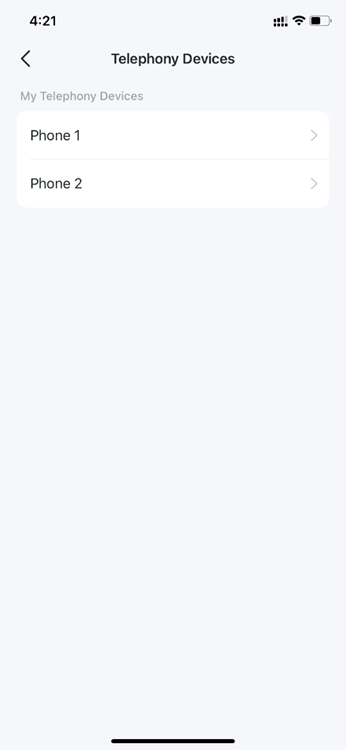
3. Tap Phone1 or Phone 2 to customize the settings. You can add 2 analog phones at most.
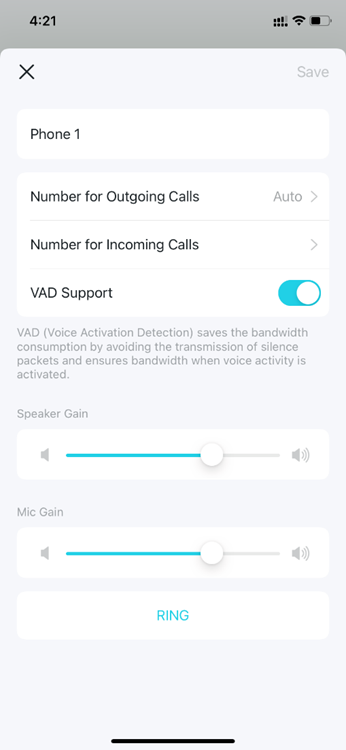
- Number for Outgoing Calls: Assign one outgoing number for this phone. If you choose Auto, you Deco will select any available number to be the outgoing number.
- Number for Incoming Calls: Assign one or multiple incoming numbers for this phone.
- VAD Support: Enable VAD Support to ensure bandwidth when voice activity is activated.
- Speaker Gain: Adjust the Speaker Gain slider to control the speaker sound.
- Mic Gain: Adjust the Mic Gain slider to control the microphone sound.
- RING: Ring your analog phone to find it quickly.
Voicemail allows the caller who is not answered to leave a voice mail. For example, you’re on a vacation and cannot receive any call at the moment. If people who called can leave a voice mail, you would know what was going on when you were absent from home.
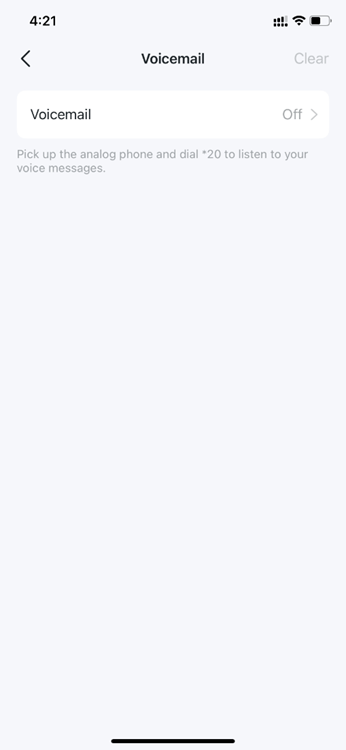
1. Tap Voice Mail and enable Voicemail.
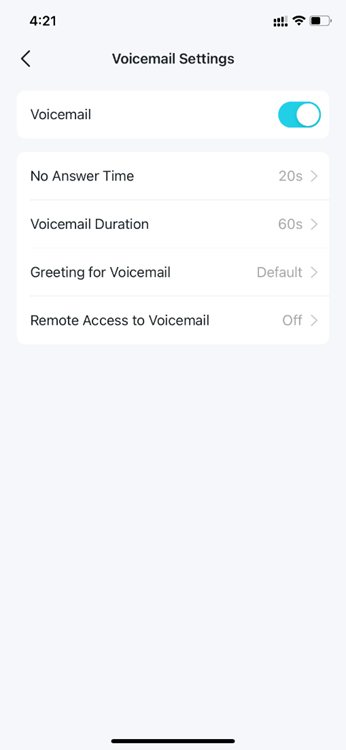
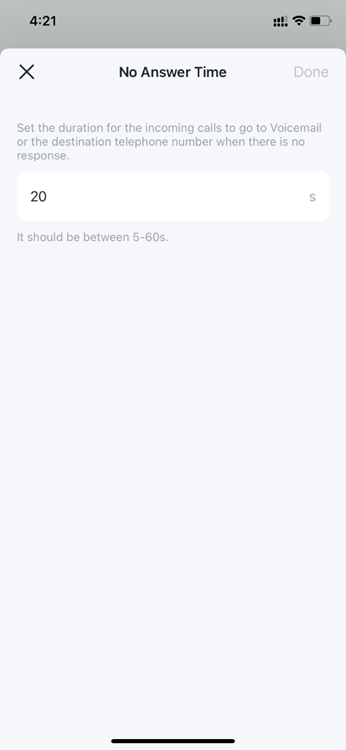
2. Set the duration for the incoming calls to go to voicemail when there is no response.
3. Set the length of each voicemail.
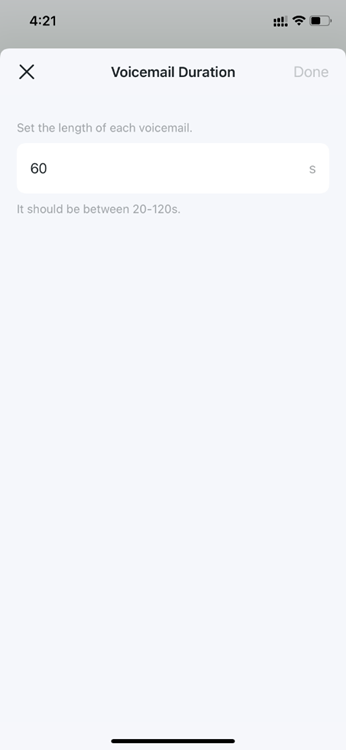
4. Use the default greeting or record your own one for voicemail.
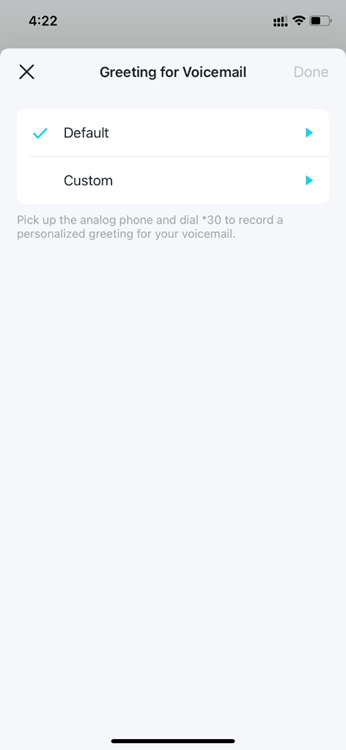
5. Enable Remote Access to Voicemail and set a Remote Access PIN. You need to enter this PIN code when listening to your voice mails remotely.
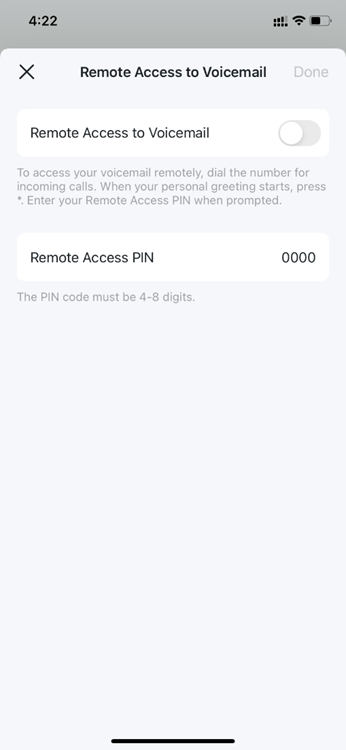
Call Forwarding allows you to forward some incoming calls to a designated telephone number. For example, when no one answer the incoming call, it would be forwarded to your mobile phone so that you won’t miss it.
Follow the steps to set call forwarding rules.
1. Tap Call Forwarding > + to set how calls should be forwarded.
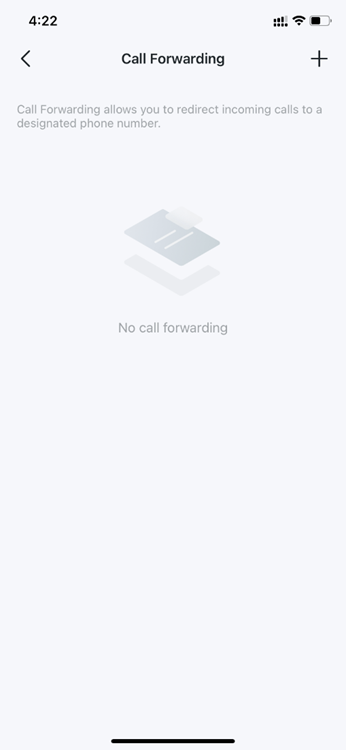
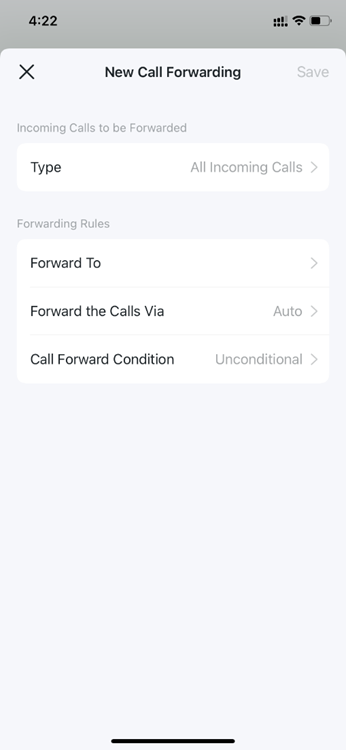
2. Choose a call type (all incoming calls/telephone numbers in Deco/analog phone/contacts in Telephone Book/specific telephone numbers) to forward.
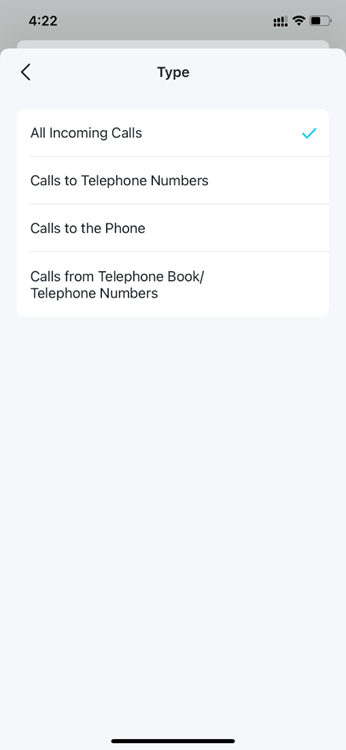
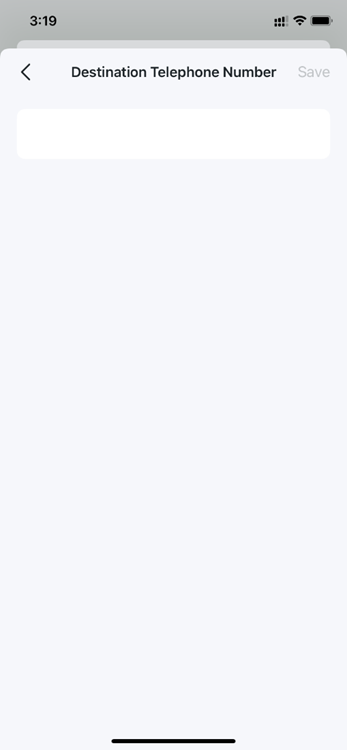
3. Enter the telephone number to which the calls will be forwarded.
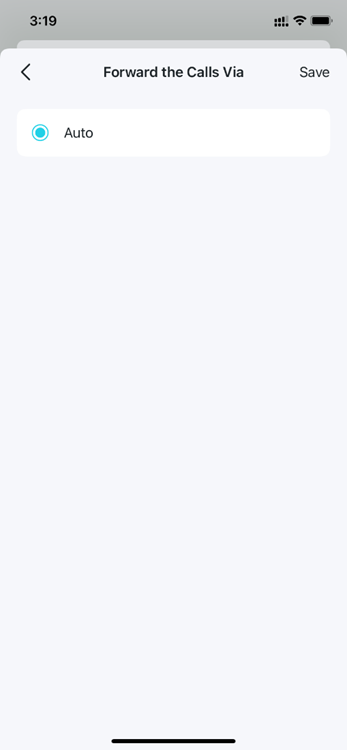
4. Choose via which phone number the calls will be forwarded.
5. Choose forward calls unconditionally or when no one answers.
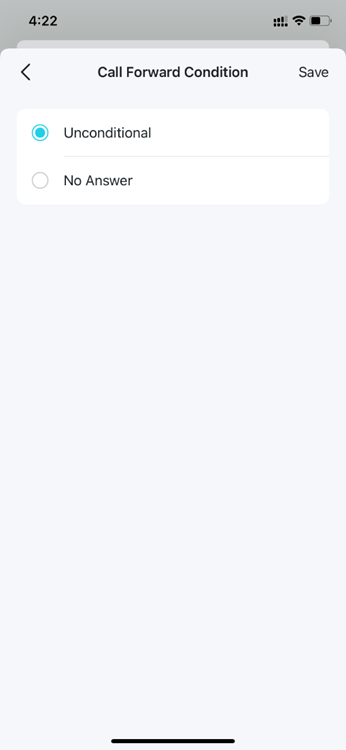
6. After the settings, enable Status to apply the forwarding rule.
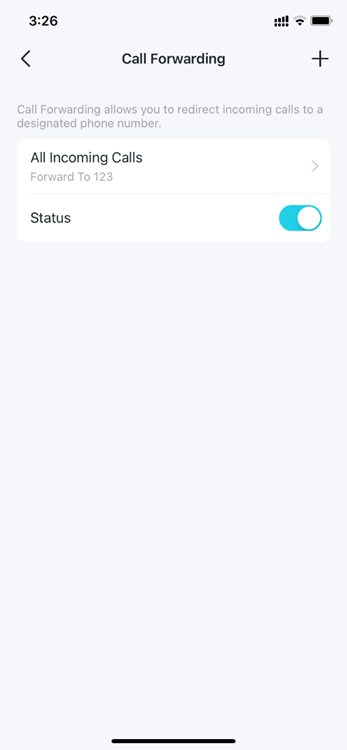
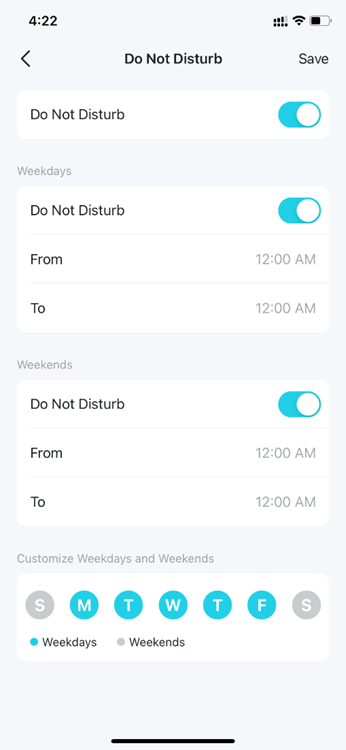
When you don‘t want calls to be received or dialed, you can enable Do Not Disturb, then all incoming calls will be blocked within the defined timeframe. In this case, the caller will hear a "ringback tone" signal, and the calls will be listed in the call log.
Tap Do Not Disturb and enable it. Then set the day(s) and time when Do Not Disturb is enabled.
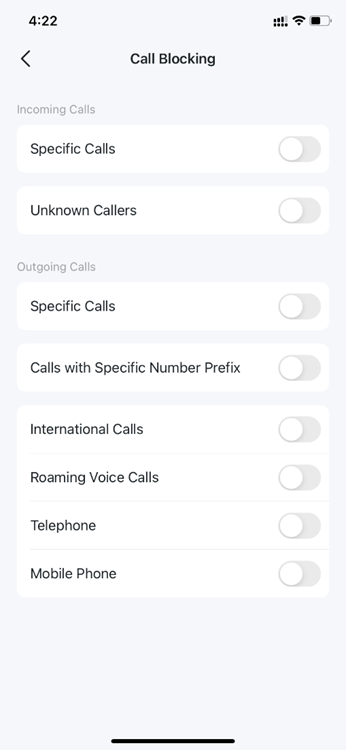
With Call Blocking, you can block certain incoming/outgoing calls, such as blocking incoming unknown calls or avoiding that expensive premium services are called from your line.
Tap Call Blocking. Then set rules to block incoming or outgoing calls.
Is this faq useful?
Your feedback helps improve this site.
TP-Link Community
Still need help? Search for answers, ask questions, and get help from TP-Link experts and other users around the world.