Setup Google Home and Linking it with TP-Link KASA
What you will need:
Android or IOS smartphone
TP-Link Kasa App
Google Home App
TP-Link Smart Home product
Google Home
This Guide is to walk you through setting up both your Google Home and linking you KASA account to it. If you have already setup your Google Home skip to step number: 16
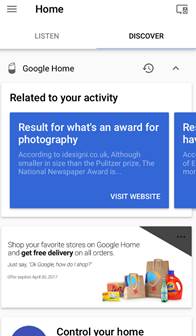
Step 1: Log into Google Home app.
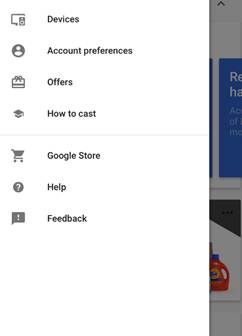
Step 2: Click on the “three lines” in the upper left corner
Step 3: Click on Devices
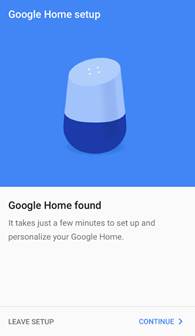
Step 4: New Google Home should appear click on “Setup”
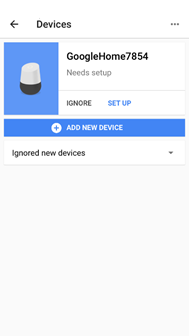
*Note: if you do not see the device here make sure your Google Home is plugged in, you may need to reset the unit.
Step 5: Click “Continue”
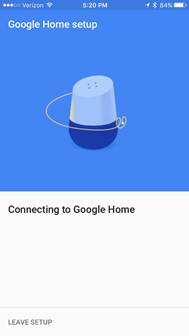
Step 6: Device will attempt to connect
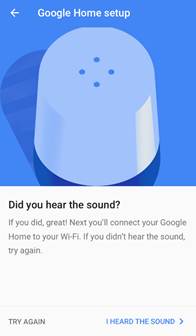
Step 7: Google Home will test a sound click on “Play Test Sound”

Step 8: Once you hear the sound click on “I Heard the Sound”
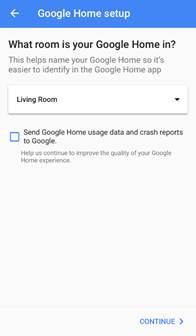
Step 9: Choose a “Room” and click on “Continue”
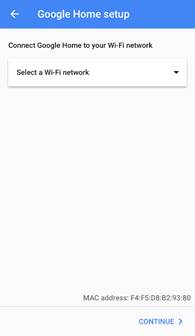
Step 10: Choose your “WiFi” and click “Continue”
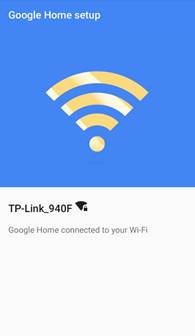
Step 11: Wait for your “WiFi” is connected
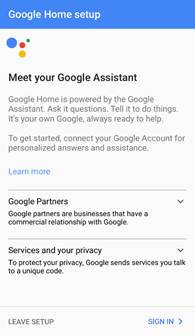
Step 12: Sign into “Google Assistant”
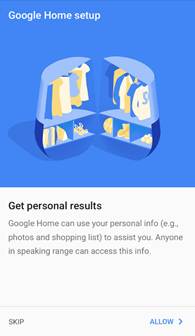
Step 13: Allow or Skip “Personal Results”
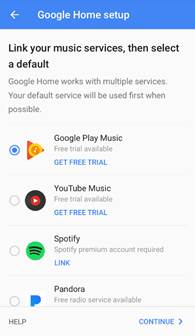
Step 14: Choose your “Music” provider and click “Continue”
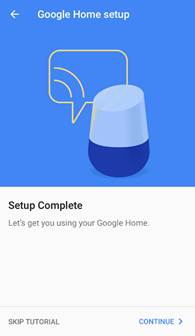
Step 15: Google Home Setup is complete click “Continue”
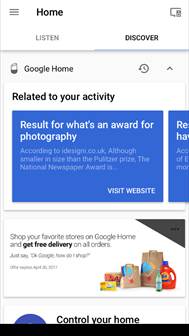
Step 16: Click on the “three lines” in the upper left corner
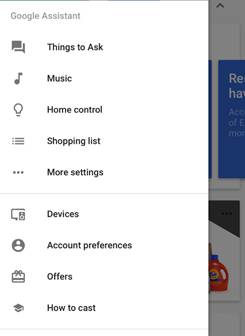
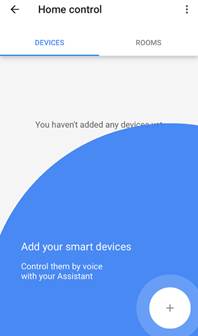
Step 17: Click “Home Control”
Step 18: Click on the “+” to add Smart Home devices
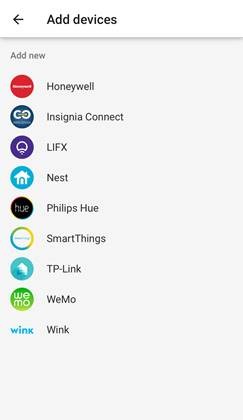
Step 19: Choose “TP-Link”
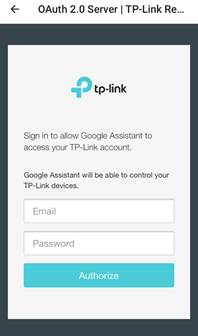
Step 20: Sign into your “KASA” account
Step 21: You may see a white screen for a few second while it links up
Step 22: Assign rooms to devices (optional)
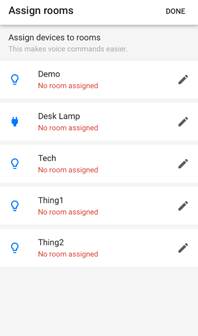
Step 23: You’re done

Use the following guides to help control your TP-Link Smart Home products
Is this faq useful?
Your feedback helps improve this site.
TP-Link Community
Still need help? Search for answers, ask questions, and get help from TP-Link experts and other users around the world.