How to setup the OnHub router through the Google Wifi app
Note: The Google On app for the OnHub router has been renamed as Google Wifi at the end of 2016.
Due to the name change, the user interface of the app has been refreshed to offer better access to the router features.
Step 1 Find a spot for your OnHub
The OnHub wifi point should be connected to a modem (or directly to ISP Gateway devices if you’re using other service like Fiber or DSL). If possible, please place the Wifi point in an open space, like on a shelf or TV stand.
Step 2 Plug in your OnHub
Connect the power adapter to your OnHub, then plug the other end into a power outlet. Your OnHub’s light will glow to indicate that it’s powered on.
Connect the provided Ethernet cable to the bottom WAN port  of your OnHub and the other end to your modem.
Step 3 Download the Google Wifi app
Download the Google Wifi app on your Android or iOS mobile device.
Open the app and sign in to your Google Account. Then tap GET STARTED to setup OnHub.
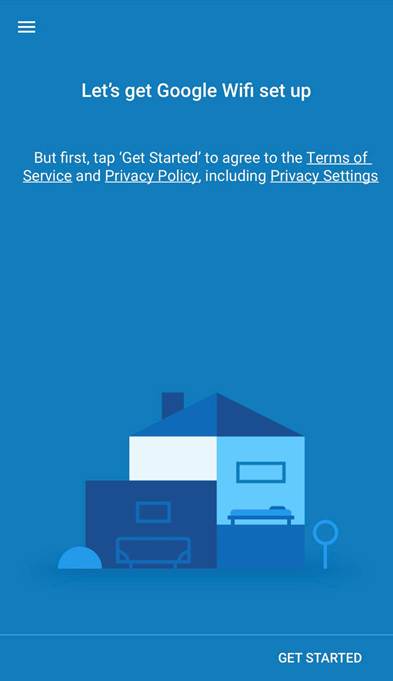
Step 4 Find and connect OnHub
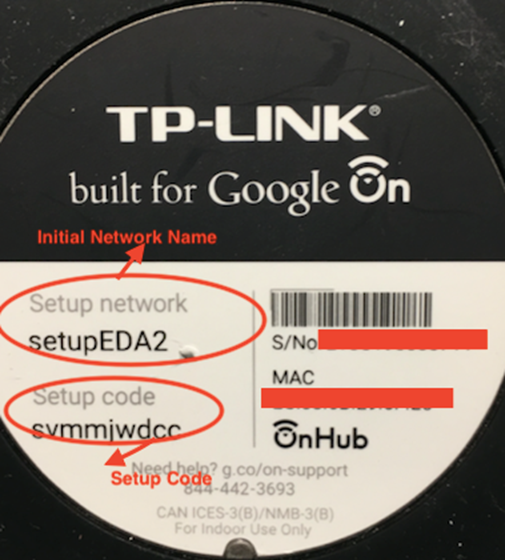
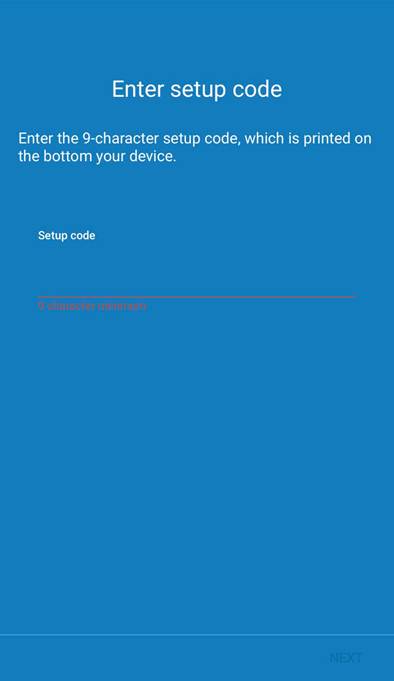
The app will automatically find and connect to your OnHub. , and it will ask you to type in the setup code in the next step to connect to OnHub.
you can manually enter the setup code yourself. The setup name and code are found on the bottom of your OnHub.
If the Google Wifi app cannot find the device, you can find it manually by the operations below:
Connect to OnHub initial Wi-Fi network, generally it’s “SetupXXXX”, and the password is the Setup code which you can find on the bottom of your OnHub.
Step 5 Choose your OnHub’s location
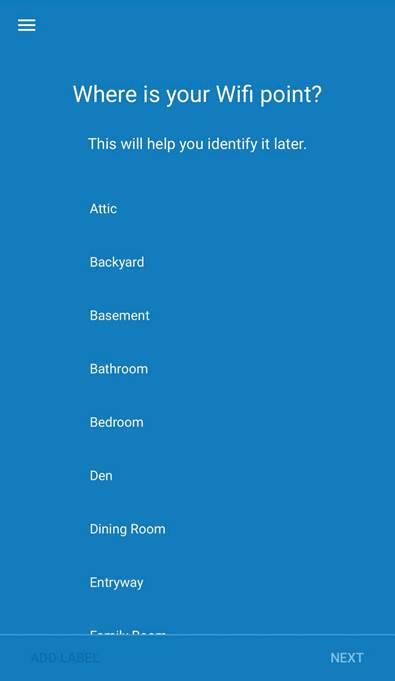
Please select a location in the app, which will help you identify your OnHub later. You can also make a custom label.
When you’re done, tap NEXT.
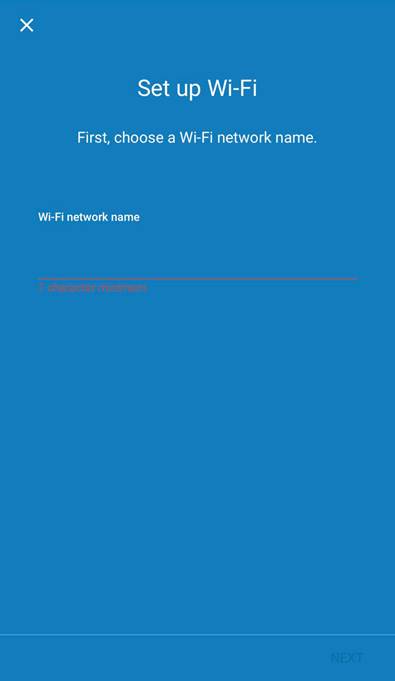
Step 6 Set up Wi-Fi
Create your own Wi-Fi name and password, and let the app complete the setup for you. After that, you can connect your devices to the new created Wi-Fi network.
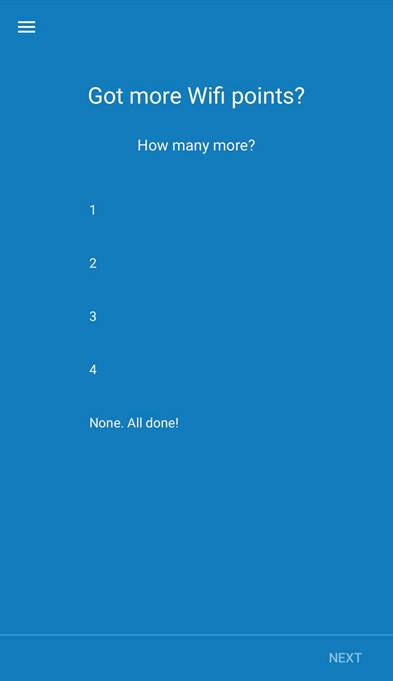
Step 7 Set up additional OnHub (if necessary)
Select all done to finish the setup
Have more OnHub Wifi points? Select how many more you need to set up, and tap NEXT to finish all others.
Where to put additional OnHub Wifi points
Step 8 Install software
After your OnHub is setup, it will download and update the OnHub software, which includes the latest features and security measures. This can take up to 10 minutes.
Your OnHub will restart and your Wi-Fi network will be down until the OnHub fully turns on, when the light is solid teal.
Then you’re done. Now check out what you can do with it.
Is this faq useful?
Your feedback helps improve this site.
TP-Link Community
Still need help? Search for answers, ask questions, and get help from TP-Link experts and other users around the world.

