How to set up and use the FTP Server feature on modem router (self-developed UI)
This Article Applies to:
Step 1 Plug a USB Storage device into the USB port. Then open the web browser and type http://192.168.1.1 in the address bar, then press Enter button.
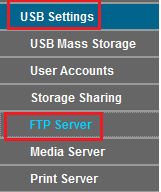
Step 2 Type the username and password in the login page, the default username and password are both admin (in lower case), then click OK to log into the router, Click USB Settings -> FTP Server on the left side menu.
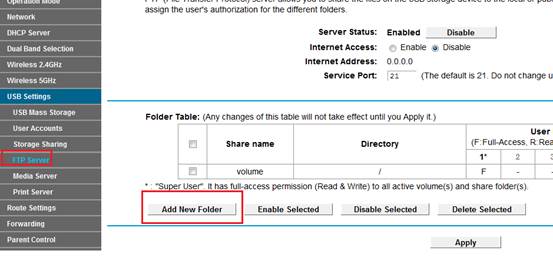
Step 3 Before configuring the FTP Server, the USB storage device must be recognized first. Click Add New Folder button.
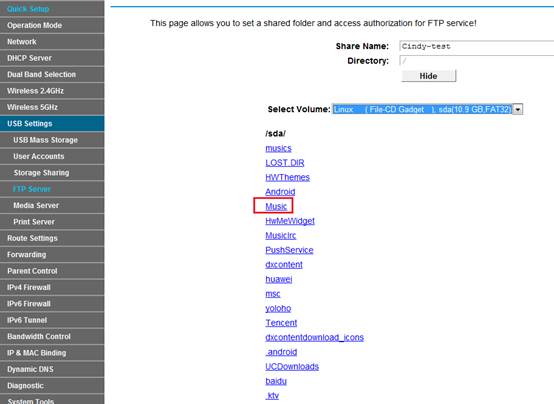
Step 4Click on the volume you want to share.
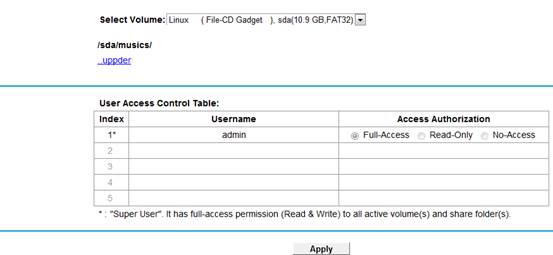
Step 5 Select the Access Authorization,then click Save.
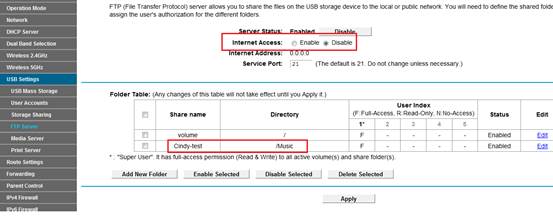
Step 6 Your shared folders will be listed on the FTP home page. If you want to use the Internet Access, please select Enable. Then click Apply.
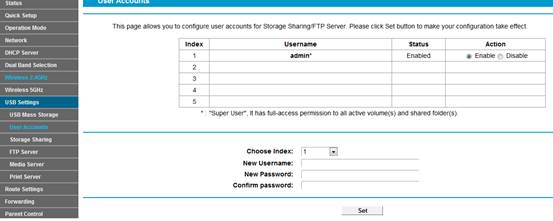
Step 7Click USB Settings -> User Accounts to edit or create a new account.
Step 8 Now the FTP server can be accessed by local network and external network. Please open the web browser and type in address ftp://192.168.1.1, press enter. Then type in your account to access to the FTP server. Here the IP address of the router is 192.168.1.1.
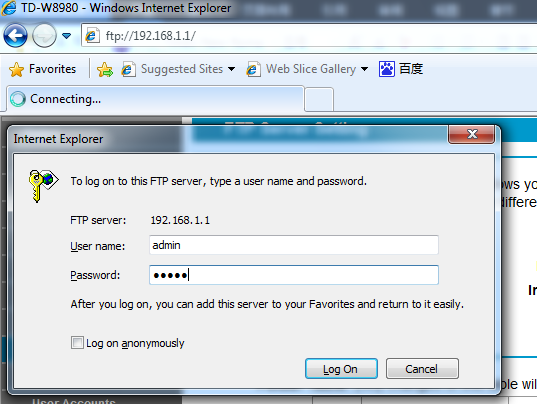
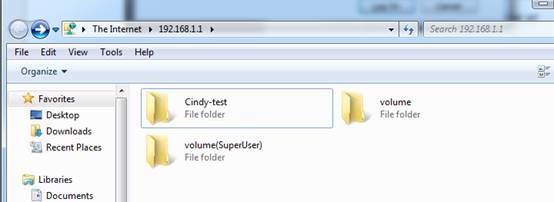
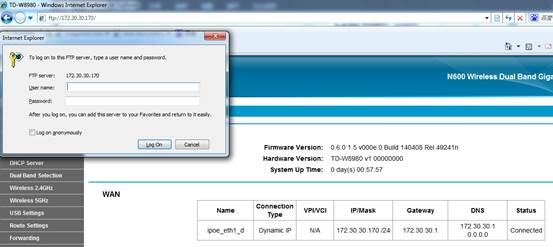
Step 9 You can also access the FTP server by external network. Please type in address ftp://WANIP(The WAN IP Address can be found on the status section )to access to it.
Get to know more details of each function and configuration please go to Download Center to download the manual of your product.
Is this faq useful?
Your feedback helps improve this site.
TP-Link Community
Still need help? Search for answers, ask questions, and get help from TP-Link experts and other users around the world.